Unique Halloween Crafts for Adults 2024: Fun Projects for a Spooky Evening In
Halloween is a time for celebration, spookiness, and creativity. While trick-or-treating and costume parties are traditional favorites, consider embracing a more intimate and engaging experience by hosting a spooky evening in with unique Halloween crafts. These projects offer a fantastic opportunity to unleash your inner artist, connect with friends and family, and create lasting memories.
This guide explores a variety of fun and easy Halloween crafts perfect for adults, offering detailed instructions, helpful tips, and inspiration to make your spooky evening unforgettable.
Why Embrace Halloween Crafts?
- Creative Outlet: Engaging in crafting allows you to express your artistic side and explore different mediums, textures, and techniques.
- Stress Relief: The act of creating something tangible can be incredibly therapeutic, offering a welcome escape from the daily grind.
- Social Connection: Crafting with friends or family fosters a sense of community and provides shared experiences to cherish.
- Decorative Delights: Homemade crafts add a personal touch to your Halloween décor, making your home truly unique and festive.
- Unique Gifts: Handmade Halloween crafts make thoughtful and personalized gifts for loved ones.
Exploring Unique Halloween Crafts for Adults
1. Spooky Terrariums
Combine your love for plants and Halloween with enchanting spooky terrariums. These miniature ecosystems create a captivating display of eerie beauty.
Materials:
- Glass containers: Choose jars, bottles, or even old aquariums for a unique look.
- Soil: Use a well-draining potting mix suitable for indoor plants.
- Plants: Opt for low-maintenance plants that thrive in low-light conditions, such as succulents, ferns, or moss.
- Decorative elements: Incorporate spooky accents like miniature skeletons, plastic spiders, faux cobwebs, or even miniature tombstones.
- Gravel or small rocks: Create a drainage layer at the bottom of the container.
- Activated charcoal: Helps to absorb excess moisture and prevent mold.
Instructions:
- Prepare the container: Clean your chosen container thoroughly and allow it to dry completely.
- Create the drainage layer: Add a layer of gravel or small rocks to the bottom of the container for drainage.
- Add activated charcoal: Sprinkle a thin layer of activated charcoal over the drainage layer to absorb excess moisture.
- Add soil: Fill the container with potting mix, leaving enough room for your plants.
- Plant your chosen plants: Carefully arrange your plants within the terrarium.
- Decorate: Add your spooky decorative elements, ensuring they are secured and won’t harm the plants.
- Water: Mist the terrarium with water, but avoid overwatering.
Tips:
- Choose plants that can tolerate low-light conditions as terrariums are often placed indoors.
- Consider using a variety of textures and colors for a visually appealing terrarium.
- Experiment with different types of spooky decorations to create a unique and personal touch.
- Place your terrarium in a location that receives indirect sunlight.
2. DIY Haunted House Luminaries
Illuminate your Halloween with DIY haunted house luminaries. These whimsical creations cast eerie shadows and add a touch of magic to your décor.
Materials:
- Cardboard: Use sturdy cardboard boxes or sheets for the base of your luminaries.
- Craft knife: For cutting the cardboard precisely.
- Scissors: For cutting smaller details.
- Glue: A strong adhesive for attaching elements.
- Paint: Choose Halloween-themed colors like black, white, orange, and purple.
- LED tea lights or battery-operated candles: For safe illumination.
- Decorative elements: Consider adding spooky details like eyes, bats, ghosts, or cobwebs.
Instructions:
- Design your haunted house: Sketch out your haunted house design on the cardboard. You can create a simple silhouette or a more intricate structure with windows, doors, and chimneys.
- Cut out the design: Use a craft knife to carefully cut out the shape of your haunted house.
- Add details: Cut out windows, doors, and other details using scissors.
- Paint your haunted house: Paint the cardboard with your chosen Halloween colors.
- Decorate: Glue on decorative elements like eyes, bats, ghosts, or cobwebs to add a spooky touch.
- Create the window openings: Carefully cut out small openings on the sides of your haunted house to create windows.
- Place the lights: Insert LED tea lights or battery-operated candles into the window openings for a warm, eerie glow.
Tips:
- Use a template or online design inspiration to create your haunted house.
- Experiment with different lighting effects by using various colors of LED lights.
- Consider adding a base to your luminary for added stability.
- Place your haunted house luminaries on your porch, patio, or windowsill to create a spooky ambiance.
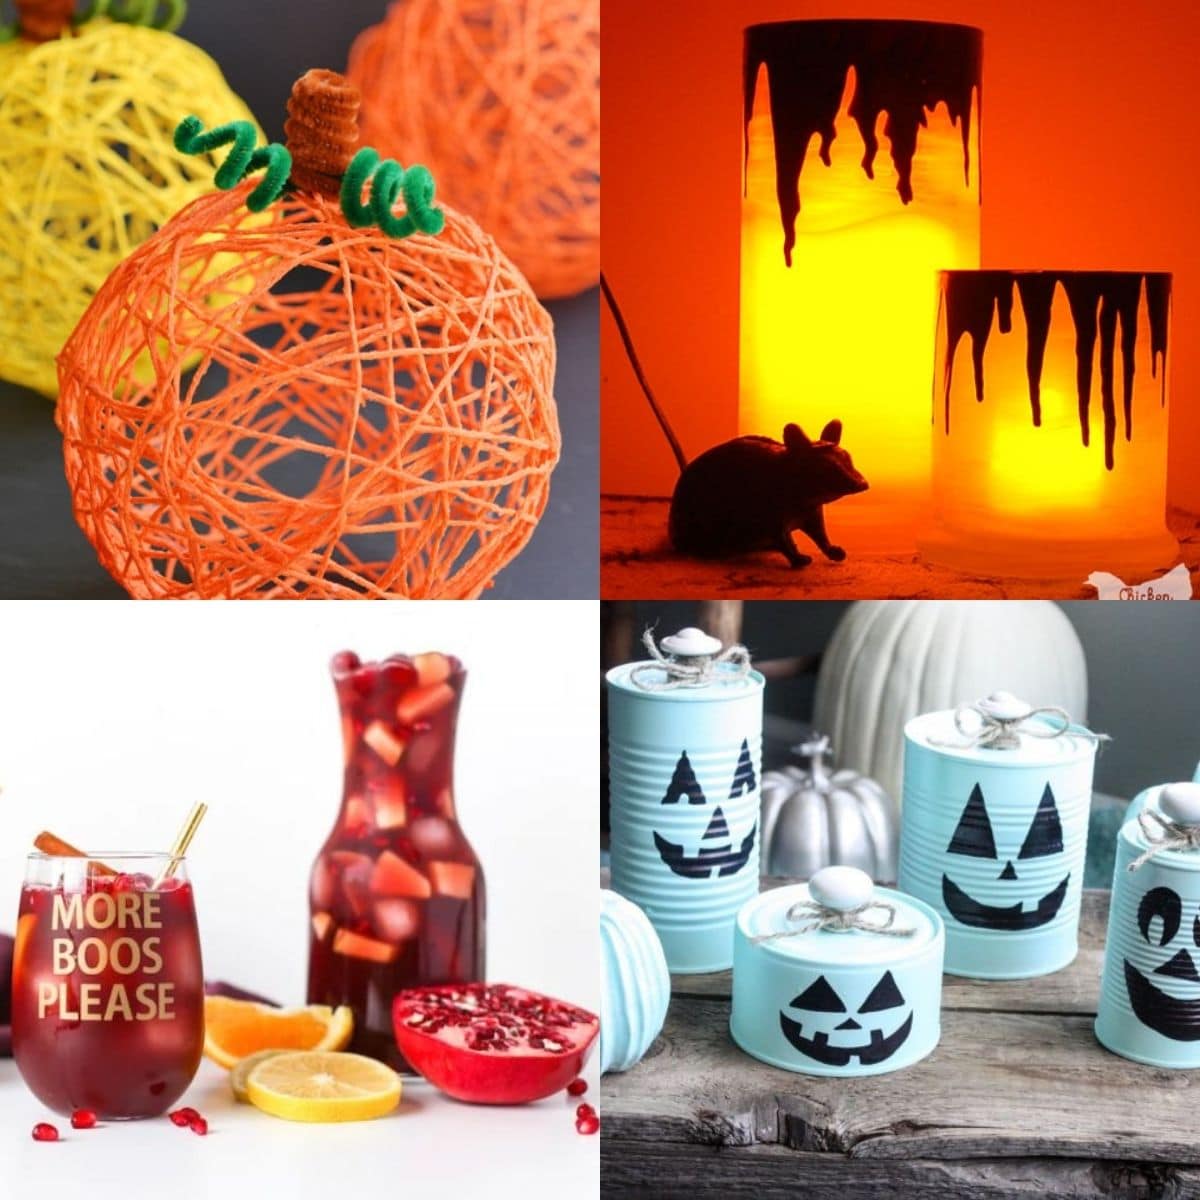
3. Ghostly Yarn Balls
Embrace the ethereal beauty of ghosts with these whimsical yarn ball crafts. These charming decorations add a touch of whimsy to your Halloween décor.
Materials:
- Yarn: Choose white or a light gray yarn for a classic ghost look.
- Balloon: Use a medium-sized balloon to create the base of your ghost.
- Scissors: For cutting the yarn.
- Glue: A strong adhesive for securing the yarn.
- Black marker: For drawing the ghost’s face.
- Optional embellishments: Consider adding fabric scraps for a ghost’s sheet or glitter for a shimmering effect.
Instructions:
- Inflate the balloon: Blow up the balloon to the desired size for your ghost.
- Wrap the yarn: Wrap the yarn around the balloon, creating a thick, even layer.
- Secure the yarn: Use glue to secure the yarn ends and prevent unraveling.
- Deflate the balloon: Carefully deflate the balloon and remove it from the yarn ball.
- Draw the face: Use a black marker to draw a simple ghost face on the yarn ball.
- Embellish: Add fabric scraps for a ghost’s sheet or glitter for a shimmering effect.
Tips:
- Experiment with different yarn colors and textures for a variety of ghost styles.
- Use a small piece of cardboard or a paper plate as a base to keep your ghost standing upright.
- Add a string or ribbon to hang your ghost from the ceiling or a wall.
4. Spooky Mason Jar Lanterns
Transform ordinary mason jars into enchanting Halloween lanterns with this simple and versatile craft.
Materials:
- Mason jars: Choose clear glass jars for the best illumination.
- Paint: Opt for Halloween-themed colors like black, white, orange, and purple.
- Paintbrushes: Use different sizes for precise application.
- Stencil: Create a stencil of your chosen design or use a pre-made one.
- LED tea lights or battery-operated candles: For safe illumination.
- Optional embellishments: Consider adding glitter, rhinestones, or fabric scraps for extra sparkle.
Instructions:
- Clean the jars: Wash and dry the mason jars thoroughly.
- Apply paint: Paint the jars with your chosen Halloween colors, using a stencil to create a design if desired.
- Add embellishments: Add glitter, rhinestones, or fabric scraps for extra sparkle.
- Place the lights: Insert LED tea lights or battery-operated candles into the jars for a warm, eerie glow.
Tips:
- Experiment with different paint techniques and colors for a unique look.
- Use a variety of stencils to create different designs, such as bats, ghosts, pumpkins, or spiders.
- Consider using a sealant to protect your paint and embellishments.
- Place your mason jar lanterns on your porch, patio, or windowsill to create a spooky ambiance.
5. DIY Halloween Wreath
Welcome guests to your spooky abode with a personalized Halloween wreath. This project allows you to showcase your creativity and create a festive focal point for your front door.
Materials:
- Wreath base: Choose a foam or grapevine wreath base.
- Decorative elements: Gather a variety of Halloween-themed items, such as faux pumpkins, bats, ghosts, spiders, cobwebs, and ribbon.
- Glue gun: For securely attaching the decorative elements.
- Wire cutters: For trimming wires or ribbon.
- Optional embellishments: Consider adding glitter, paint, or fabric scraps for extra sparkle.
Instructions:
- Plan your design: Decide on a theme for your wreath and choose your decorative elements accordingly.
- Attach the elements: Use a glue gun to securely attach your decorative elements to the wreath base.
- Add embellishments: Add glitter, paint, or fabric scraps for extra sparkle.
- Hang your wreath: Attach a ribbon or wire to the top of your wreath for hanging.
Tips:
- Use a variety of textures and colors to create a visually appealing wreath.
- Experiment with different arrangements of decorative elements for a unique look.
- Consider adding a personalized touch by incorporating your favorite Halloween characters or motifs.
- Place your wreath on your front door to welcome guests to your spooky abode.
6. Witches’ Brew Candles
Create a cauldron of enchanting candles with this DIY project. These unique candles add a touch of magic to your Halloween décor and make fantastic gifts.
Materials:
- Glass jars: Choose jars in various shapes and sizes for a unique look.
- Soy wax flakes: Use soy wax for a natural and sustainable option.
- Wicks: Choose wicks appropriate for the size of your jars.
- Essential oils: Select Halloween-themed scents like cinnamon, clove, or pumpkin spice.
- Dye: Use natural or synthetic dyes to create a spooky color palette.
- Wooden skewers: For holding the wicks in place.
- Double boiler: For melting the wax safely.
Instructions:
- Prepare the jars: Clean and dry the glass jars thoroughly.
- Secure the wicks: Attach the wicks to the bottom of the jars using a wick sticker or a dab of hot glue.
- Melt the wax: Melt the soy wax flakes in a double boiler over low heat.
- Add dye and scent: Once the wax is melted, add your chosen dye and essential oils.
- Pour the wax: Carefully pour the melted wax into the jars, leaving about half an inch of space at the top.
- Center the wicks: Use wooden skewers to center the wicks as the wax cools.
- Trim the wicks: Once the wax has completely cooled, trim the wicks to about ¼ inch.
Tips:
- Experiment with different jar shapes, sizes, and colors for a unique look.
- Use a variety of essential oils and dyes to create a unique scent and color palette.
- Consider adding decorative elements like dried herbs, glitter, or small Halloween charms to your candles.
7. Spooky Shadow Boxes
Create miniature scenes of Halloween magic with spooky shadow boxes. These captivating displays showcase your artistic talents and add a touch of intrigue to your décor.
Materials:
- Shadow boxes: Choose shadow boxes in various sizes and styles.
- Craft foam: Use craft foam to create the base of your scene.
- Decorative elements: Gather a variety of Halloween-themed items, such as miniature skeletons, plastic spiders, faux cobwebs, and miniature tombstones.
- Glue: A strong adhesive for attaching the elements.
- Paint: Choose Halloween-themed colors like black, white, orange, and purple.
- LED tea lights or battery-operated candles: For adding a spooky glow.
Instructions:
- Create the base: Cut a piece of craft foam to fit the bottom of the shadow box.
- Paint the base: Paint the craft foam with your chosen Halloween colors.
- Arrange the elements: Arrange your decorative elements on the painted craft foam, creating a spooky scene.
- Attach the elements: Use glue to securely attach the decorative elements to the craft foam.
- Add lighting: Place LED tea lights or battery-operated candles behind the shadow box for a spooky glow.
Tips:
- Use a variety of textures and colors to create a visually appealing scene.
- Experiment with different arrangements of decorative elements for a unique look.
- Consider adding a background to your shadow box using fabric, wallpaper, or even a printed design.
8. DIY Halloween Costume Accessories
Complete your Halloween look with personalized costume accessories. These handmade creations add a touch of individuality and creativity to your ensemble.
Materials:
- Fabric scraps: Choose fabrics in Halloween-themed colors and patterns.
- Scissors: For cutting the fabric.
- Sewing machine or needle and thread: For stitching the fabric pieces together.
- Decorative elements: Gather a variety of Halloween-themed embellishments, such as buttons, beads, sequins, and ribbon.
- Glue: A strong adhesive for attaching embellishments.
Instructions:
- Design your accessory: Decide on the type of accessory you want to create, such as a headband, a necklace, or a belt.
- Cut the fabric: Cut the fabric pieces to the desired size and shape for your accessory.
- Sew the fabric pieces together: Use a sewing machine or needle and thread to stitch the fabric pieces together, creating the base of your accessory.
- Add embellishments: Glue on decorative elements, such as buttons, beads, sequins, or ribbon, to add a festive touch.
Tips:
- Experiment with different fabric textures and colors for a unique look.
- Use a variety of embellishments to create a personalized touch.
- Consider adding a touch of sparkle with glitter or rhinestones.
Related Searches:
- Halloween crafts for adults easy: Focus on simple and beginner-friendly projects, highlighting their accessibility and quick results.
- Halloween crafts for adults to sell: Explore marketable crafts with high demand, offering tips on pricing, packaging, and online platforms for selling.
- Halloween crafts for adults with kids: Feature projects suitable for both adults and children, emphasizing the fun and bonding experiences they offer.
- Halloween crafts for adults using recycled materials: Highlight environmentally conscious projects, promoting sustainability and creative upcycling.
- Halloween crafts for adults that are creepy: Focus on projects with a darker, more eerie aesthetic, catering to those who enjoy a spooky and unsettling atmosphere.
- Halloween crafts for adults using paper: Showcase projects utilizing paper as the primary material, emphasizing its versatility and affordability.
- Halloween crafts for adults using wood: Explore projects incorporating wood as a material, highlighting its durability and rustic appeal.
- Halloween crafts for adults that are unique: Emphasize creative and original ideas that stand out from traditional Halloween crafts, encouraging originality and personal expression.
FAQs:
-
Q: What are some easy Halloween crafts for adults?
A: Simple projects like spooky mason jar lanterns, ghostly yarn balls, and DIY Halloween costume accessories are great for beginners. They require minimal materials and offer quick results.
-
Q: What are some Halloween crafts for adults that are unique?
A: Explore more unconventional projects like spooky terrariums, haunted house luminaries, and witches’ brew candles. These crafts showcase creativity and offer a unique twist on traditional Halloween décor.
-
Q: What are some Halloween crafts for adults that are creepy?
A: For a darker aesthetic, consider projects like shadow boxes with spooky scenes, DIY Halloween wreaths with eerie accents, and creepy paper mache creations.
-
Q: What are some Halloween crafts for adults that are eco-friendly?
A: Embrace sustainable crafts using recycled materials like cardboard boxes, plastic bottles, and fabric scraps. These projects promote environmental consciousness while creating unique Halloween decorations.
Tips for Successful Halloween Crafts:
- Plan ahead: Choose your projects and gather all the necessary materials beforehand.
- Create a dedicated space: Designate a specific area for crafting to avoid clutter and distractions.
- Don’t be afraid to experiment: Embrace your creativity and try new techniques or materials.
- Take breaks: Avoid burnout by taking breaks and enjoying the process.
- Share your creations: Show off your finished crafts and inspire others with your creativity.
Conclusion:
Creating unique Halloween crafts for adults offers a delightful opportunity to express creativity, connect with loved ones, and celebrate the spooky season in style. From enchanting terrariums to spooky shadow boxes, there are endless possibilities to unleash your inner artist and create unforgettable memories.
Embrace the festive spirit, experiment with different materials and techniques, and enjoy the process of crafting your own unique Halloween decorations. With a little creativity and a touch of spooky charm, you can transform your home into a truly enchanting Halloween haven.