How to Make Halloween-Themed Embroidery Projects 2024: Craft Spooky Designs for Your Home
Halloween is a time for celebration, creativity, and a touch of spooky fun. What better way to embrace the spirit of the season than by creating your own Halloween-themed embroidery projects? These handcrafted pieces can add a unique and personalized touch to your home decor, transforming your space into a charmingly eerie haven.
This comprehensive guide will walk you through the process of crafting spooky and enchanting embroidery designs, providing you with the inspiration and knowledge to create your own Halloween masterpieces.
Embracing the Spooktacular: Choosing Your Halloween Embroidery Designs
The first step in any embroidery project is selecting a design that speaks to your creative spirit. For Halloween, the possibilities are endless, ranging from classic symbols to whimsical characters. Here are some popular choices:
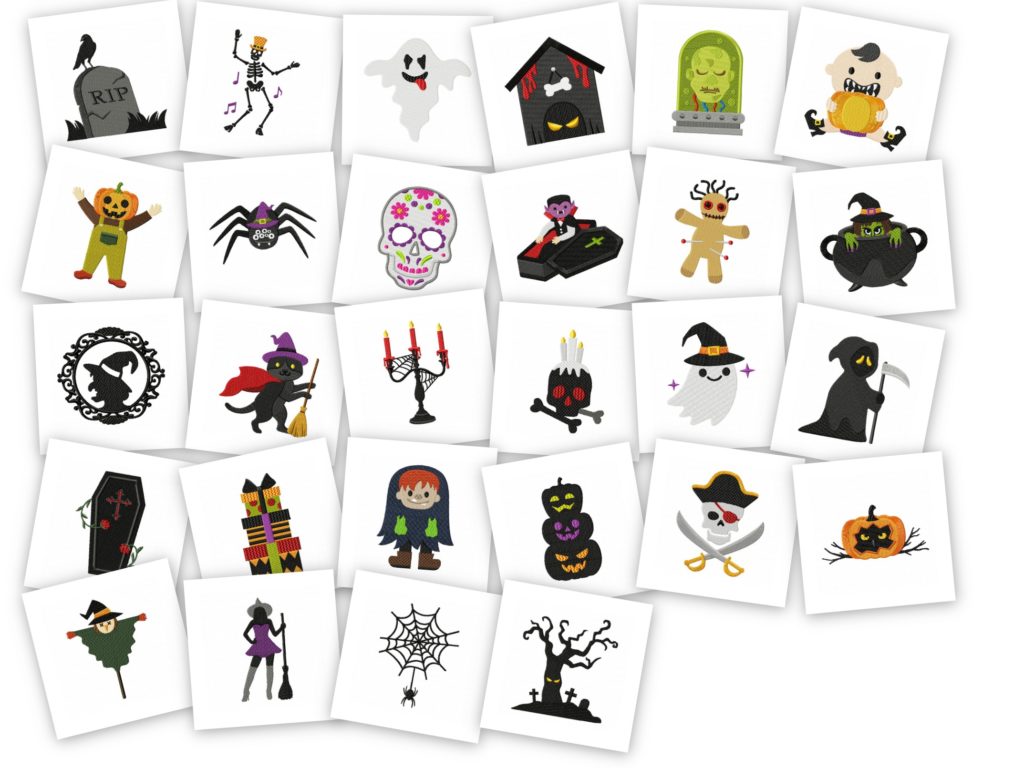
- Classic Halloween Symbols: Consider incorporating iconic elements like pumpkins, bats, ghosts, witches, and black cats. These timeless designs evoke a sense of traditional Halloween charm.
- Spooky Creatures: Embrace the macabre with intricate embroidery of skeletons, spiders, and even a creepy crawly spider web. These motifs add an element of suspense and intrigue to your project.
- Halloween Characters: From the beloved characters of classic horror movies to the whimsical creatures of children’s stories, there’s a plethora of characters to inspire your embroidery.
- Whimsical Halloween Scenes: Craft enchanting scenes like a spooky forest, a haunted house, or a cauldron bubbling with mysterious potions. These elaborate designs offer a canvas for your creativity.
Crafting the Perfect Halloween Embroidery Project: A Step-by-Step Guide
Once you’ve chosen your design, you’re ready to embark on your embroidery journey. Follow these steps to create a captivating Halloween masterpiece:
1. Gather Your Supplies:
- Embroidery Hoop: Select a hoop size that comfortably accommodates your chosen design.
- Fabric: Choose a fabric that complements your design and stitching style. Linen, cotton, and felt are popular choices for Halloween projects.
- Embroidery Floss: Opt for floss in a variety of colors to create depth and dimension in your design.
- Embroidery Needle: Select a needle with a sharp point and a comfortable size for your chosen fabric and floss.
- Scissors: Use sharp scissors for precise cutting of fabric and floss.
- Transfer Paper: This helps transfer your design onto the fabric accurately.
- Pencil or Pen: Use a pencil or pen to trace your design onto the transfer paper.
- Eraser: This is essential for removing any pencil or pen marks from your fabric.
2. Prepare Your Fabric:
- Wash and Iron: Wash your fabric according to its care instructions and iron it to remove any wrinkles.
- Transfer the Design: Place the transfer paper onto the fabric, with the design facing the fabric. Secure it with pins or clips. Trace the design onto the fabric with a pencil or pen.
- Remove the Transfer Paper: Carefully remove the transfer paper, leaving your design imprinted on the fabric.
3. Begin Embroidering:
-
Choose Your Stitch: Select an embroidery stitch that complements your design and skill level. Popular choices for Halloween embroidery include:
- Backstitch: Creates clean lines and sharp details.
- Satin Stitch: Creates smooth, solid areas of color.
- French Knot: Adds a textured, three-dimensional effect.
- Running Stitch: Creates a simple, flowing line.
- Split Stitch: Adds a textured, raised effect.
- Thread Your Needle: Thread your needle with the desired color of floss.
- Secure Your Thread: Start by securing the floss on the back of the fabric with a few small stitches.
- Follow the Design: Carefully follow the lines of your transferred design, using the chosen stitch to create your embroidery.
- Change Colors: When changing colors, secure the new thread on the back of the fabric with a few small stitches.
4. Finishing Touches:
- Trim Excess Thread: Trim any excess thread from the back of your embroidery.
- Remove Transfer Marks: Gently erase any remaining pencil or pen marks from your fabric.
- Frame Your Project: Consider framing your finished embroidery project to protect it and enhance its display.
Unleashing Your Creativity: Halloween Embroidery Ideas for Every Skill Level
Here are some creative ideas to inspire your Halloween embroidery projects:
- Pumpkin Patch: Embroider a charming pumpkin patch with a variety of pumpkins, each with unique details like faces, stems, and leaves.
- Spooky Silhouette: Create a silhouette of a spooky tree, a haunted house, or a witch flying on a broomstick. Use black floss for a dramatic effect.
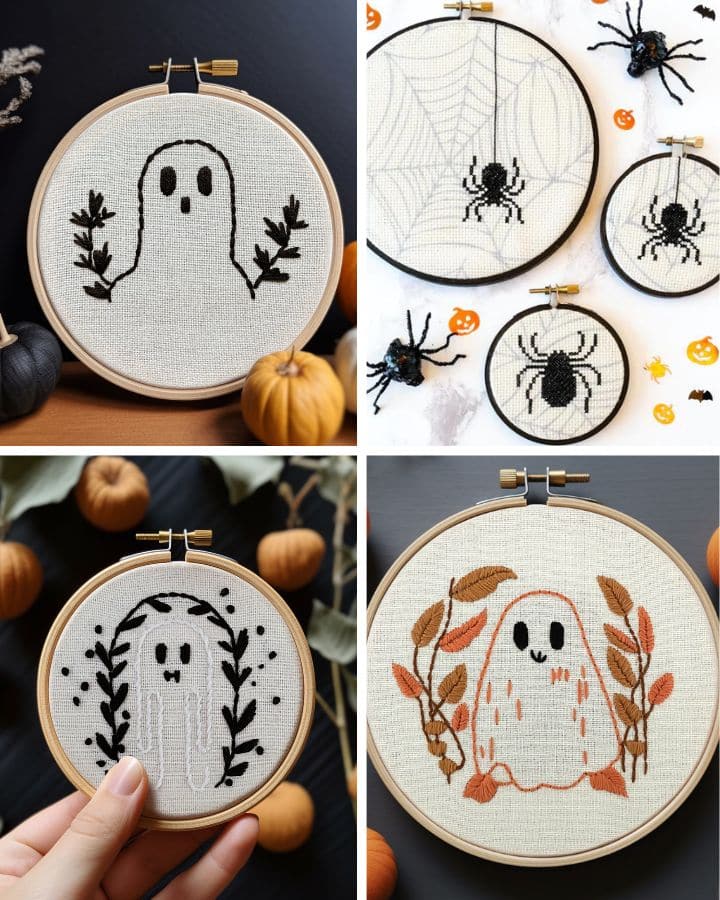
- Ghostly Garlands: Embroider a series of adorable ghosts with different expressions and embellishments. String them together to create a spooky garland.
- Haunted House Banner: Craft a banner with a haunted house design. Use a variety of stitches and colors to add dimension and detail.
- Black Cat Charm: Embroider a cute black cat charm to adorn your bag or keys. Use black floss and add a touch of red for the eyes.
- Spider Web Wall Hanging: Embroider a detailed spider web with a realistic spider lurking in the center. Use black floss and add a touch of silver for the spider’s legs.
- Halloween Pillowcase: Embroider a spooky design onto a plain pillowcase. This adds a festive touch to your bedroom decor.
- Trick or Treat Tote Bag: Design a tote bag with a fun Halloween theme. Use a variety of stitches and colors to create a unique and personalized design.
Related Searches: Halloween Embroidery Projects
- Halloween Embroidery Patterns Free: Explore numerous free Halloween embroidery patterns online. Websites like Pinterest, Etsy, and Ravelry offer a vast library of designs for all skill levels.
- Halloween Embroidery Ideas for Beginners: Focus on simple designs like pumpkins, bats, and ghosts to gain confidence and learn basic embroidery techniques.
- Halloween Embroidery Designs for Kids: Engage children in embroidery with easy-to-follow patterns featuring cute characters like bats, ghosts, and pumpkins.
- Halloween Embroidery Projects for Adults: Challenge yourself with intricate designs like haunted houses, spooky landscapes, and detailed portraits of Halloween characters.
- Halloween Embroidery Kits: Explore pre-packaged kits that include everything you need to complete a Halloween embroidery project.
- Halloween Embroidery Hoop Art: Elevate your embroidery projects by incorporating them into hoop art. Use decorative hoops, embellishments, and backings to create stunning displays.
- Halloween Embroidery Patterns for Machine Embroidery: Explore machine embroidery designs for creating festive Halloween decorations and home accents.
- Halloween Embroidery Supplies: Find a wide range of embroidery supplies specifically designed for Halloween projects, including floss, needles, fabric, and hoops.
FAQs: Halloween Embroidery Projects
1. What are some beginner-friendly Halloween embroidery projects?
For beginners, simple designs like pumpkins, bats, ghosts, and black cats are excellent choices. These patterns use basic stitches and require minimal intricacy.
2. What type of fabric is best for Halloween embroidery?
Linen, cotton, and felt are popular choices for Halloween embroidery. Linen offers a classic look, cotton provides a smooth surface for stitching, and felt offers a textured and sturdy option.
3. How do I choose the right embroidery floss for my Halloween project?
Consider the colors and textures of your design. Opt for floss in shades of black, orange, purple, and green to create a classic Halloween aesthetic. You can also experiment with metallic floss for a touch of sparkle.
4. What are some tips for transferring a design onto fabric for embroidery?
Use a transfer paper designed specifically for fabric. Trace the design onto the paper with a pencil or pen, then secure the paper onto the fabric. Trace the design onto the fabric, then carefully remove the transfer paper.
5. How do I secure the embroidery floss at the beginning and end of a stitch?
Secure the floss at the beginning and end of a stitch by making a few small stitches on the back of the fabric. This prevents the thread from unraveling.
6. How do I prevent my embroidery from fraying?
Use a fabric stabilizer or a piece of felt behind your fabric to prevent fraying. You can also use a backstitch to secure the edges of your embroidery.
7. What are some ideas for displaying my finished Halloween embroidery projects?
Frame your embroidery project to protect it and enhance its display. You can also use it as a decorative element in your home decor, such as a wall hanging, pillowcase, or tote bag.
Tips for Creating Spooktacular Halloween Embroidery Projects:
- Practice Your Stitches: Before starting your Halloween project, practice your chosen stitches on a scrap piece of fabric. This will help you gain confidence and ensure a smooth stitching process.
- Use a Lightbox: A lightbox can be a helpful tool for transferring designs onto fabric. It provides a bright and even light source, making it easier to see the design lines.
- Embellish Your Designs: Enhance your embroidery with beads, sequins, ribbons, or other decorative elements. These embellishments can add a touch of whimsy and sparkle to your Halloween creations.
- Experiment with Textures: Use a variety of stitches and textures to create dimension and interest in your embroidery. Combine smooth satin stitches with textured French knots for a unique and eye-catching effect.
- Consider the Background: Choose a background fabric that complements your embroidery design. A dark background can make the design stand out, while a light background can create a softer, more whimsical effect.
- Embrace Mistakes: Don’t be afraid to make mistakes. Embroidery is a process of trial and error. If you make a mistake, simply pull out the thread and try again.
Conclusion: Embracing the Spooky Charm of Halloween Embroidery
Embroidery is a wonderful way to express your creativity and add a personalized touch to your home decor. By incorporating Halloween themes into your embroidery projects, you can transform your space into a charmingly eerie haven for the season. Whether you’re a seasoned embroiderer or a curious beginner, the possibilities are endless. So, gather your supplies, choose your design, and let your imagination run wild as you create spooky and enchanting embroidery projects that capture the magic of Halloween.


:max_bytes(150000):strip_icc()/Halloween_GreenJello-59a5df7022fa3a0010979fd4.jpg)


:max_bytes(150000):strip_icc()/Halloween_WeLoveFrenchKnots-59a5df94685fbe001051feb1.jpg)
