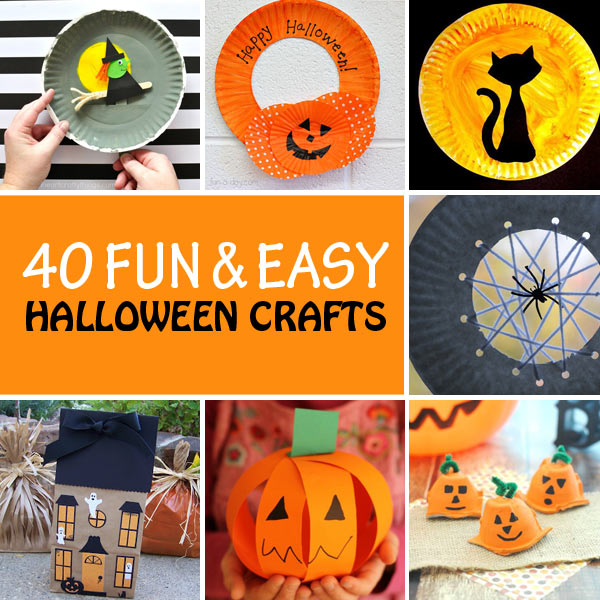
Halloween is a time for fun, costumes, and spooky decorations. What better way to get into the spirit than by engaging in creative projects with your children? This year, let’s go beyond the traditional paper pumpkins and explore a world of imaginative Halloween crafts that will add a touch of whimsy and spookiness to your home.
Creating a Spooky Atmosphere: Halloween Crafts for Every Skill Level
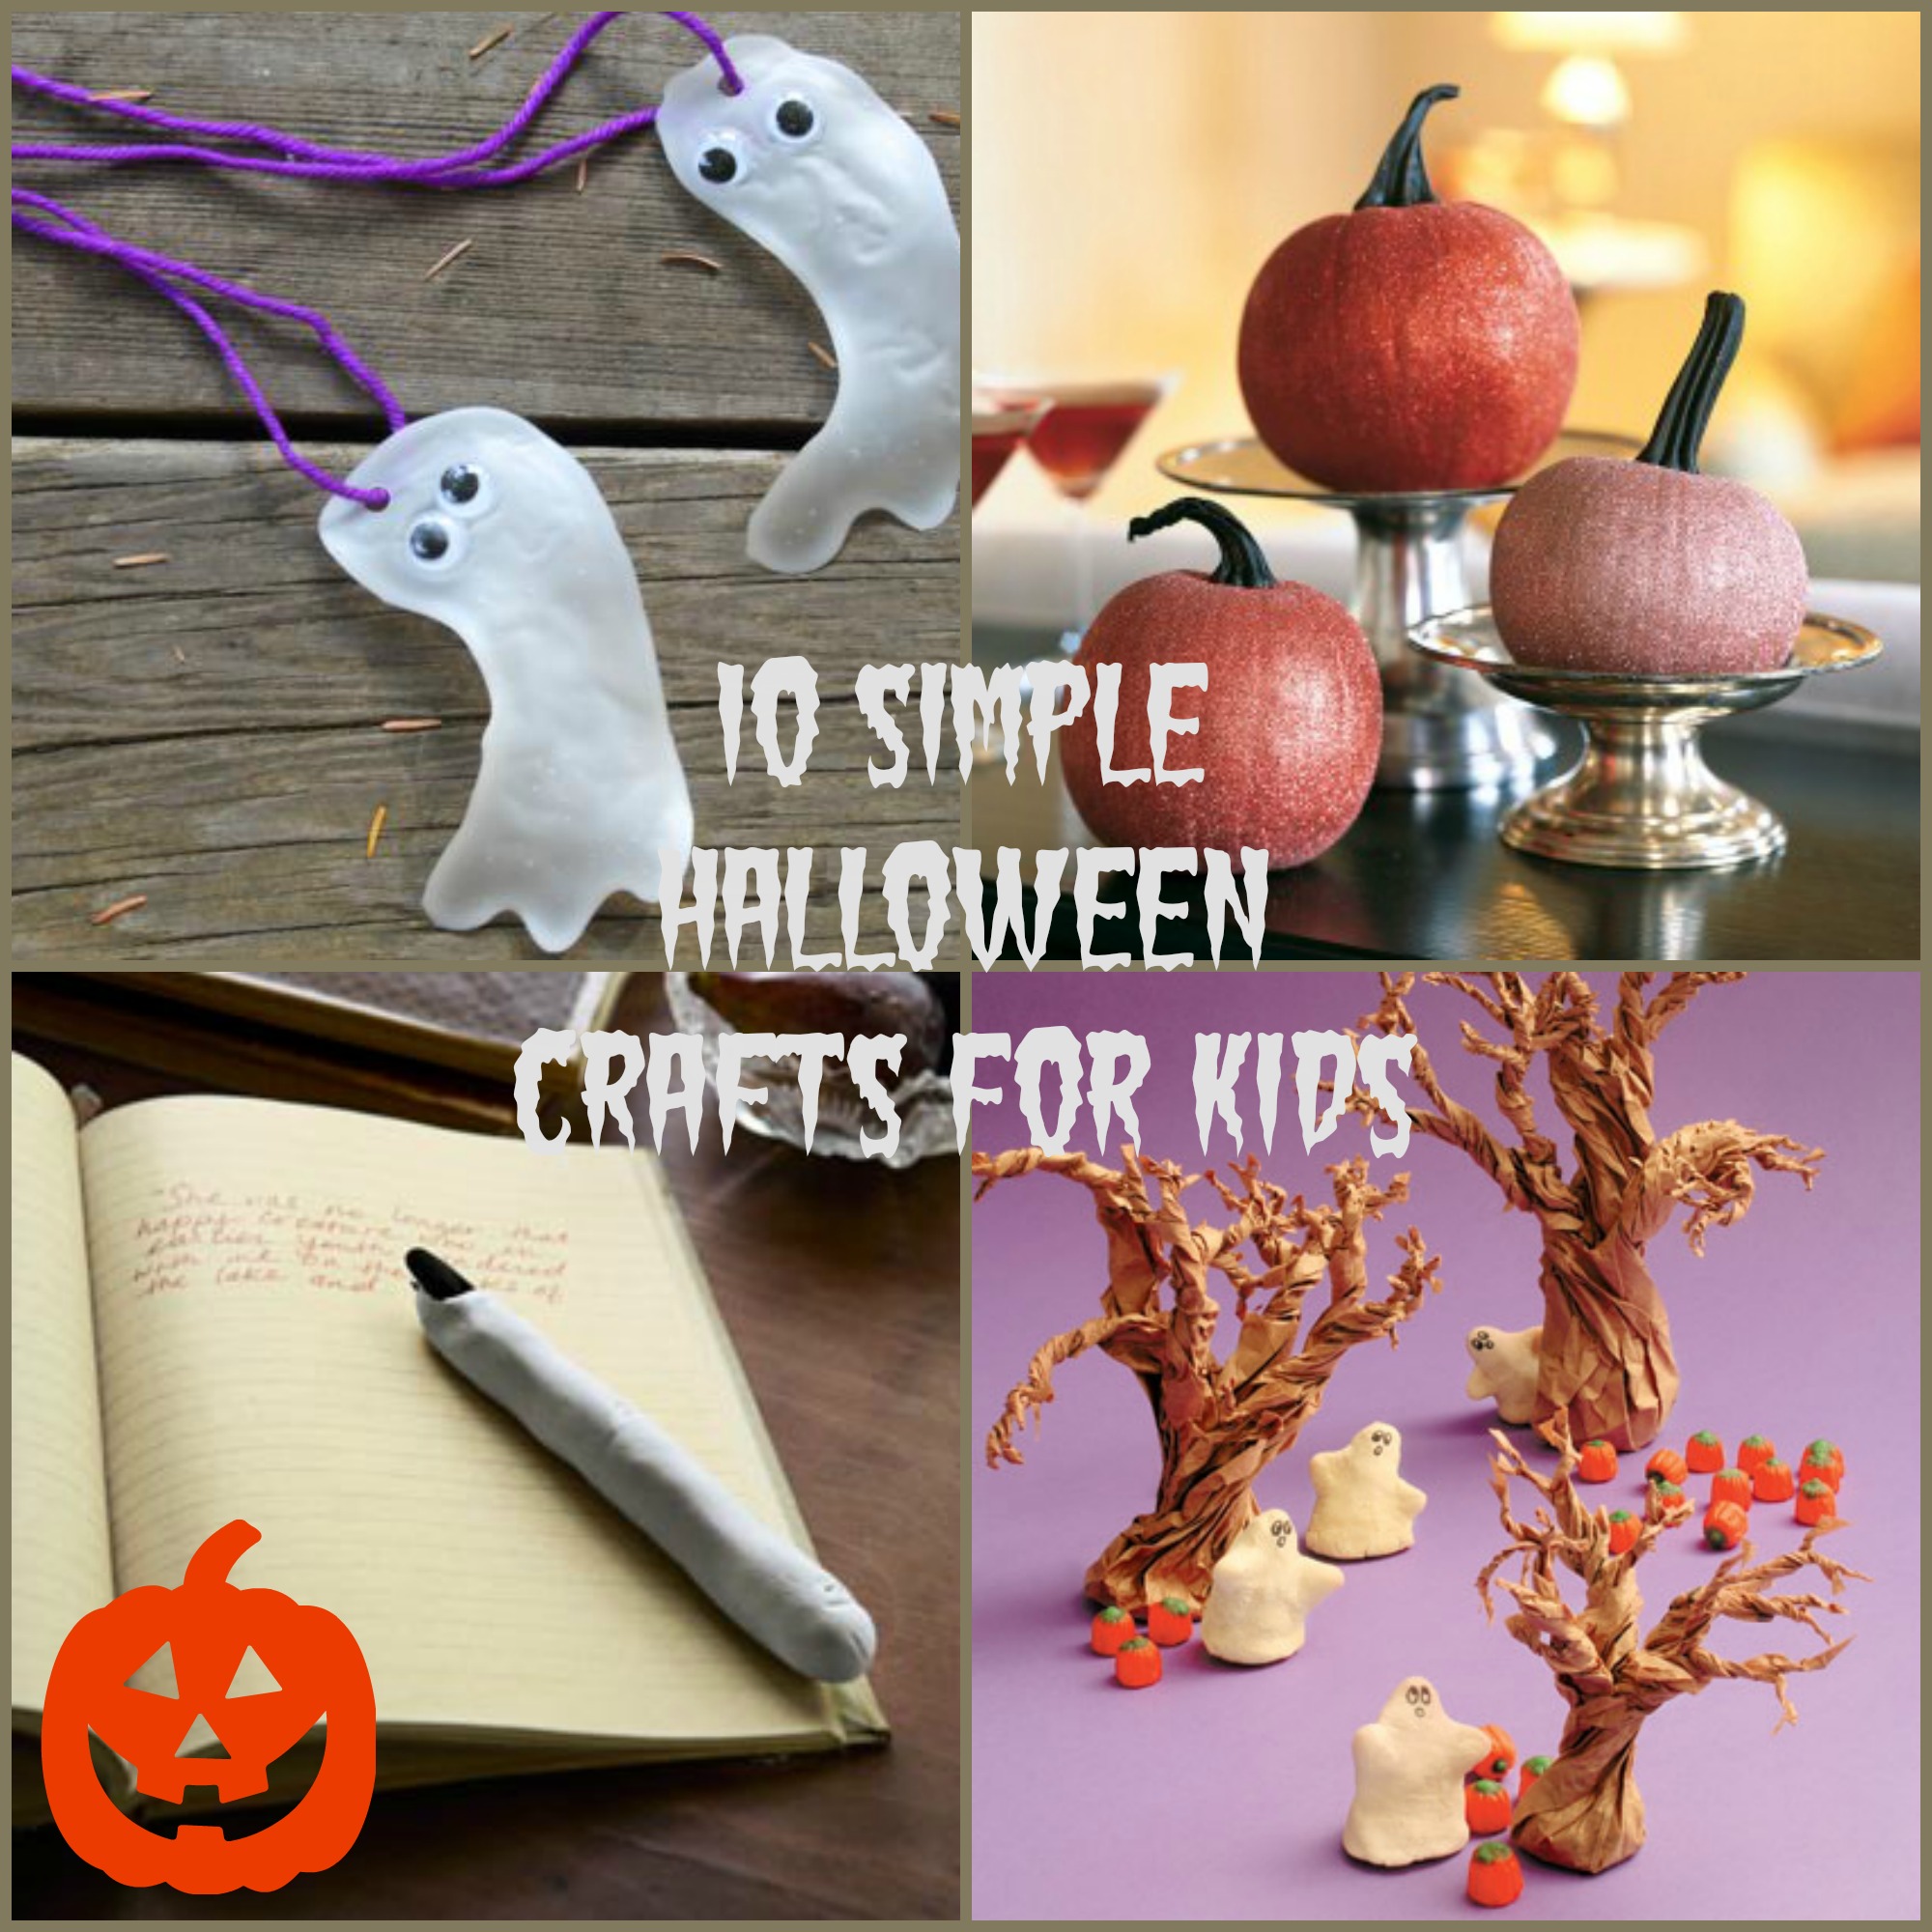
Engaging in Halloween crafts offers numerous benefits for children. It fosters creativity, fine motor skills, and problem-solving abilities. Moreover, it provides a wonderful opportunity for families to bond over shared experiences. Whether you’re seeking simple projects for toddlers or more intricate crafts for older children, this guide offers a variety of ideas to suit all ages and skill levels.
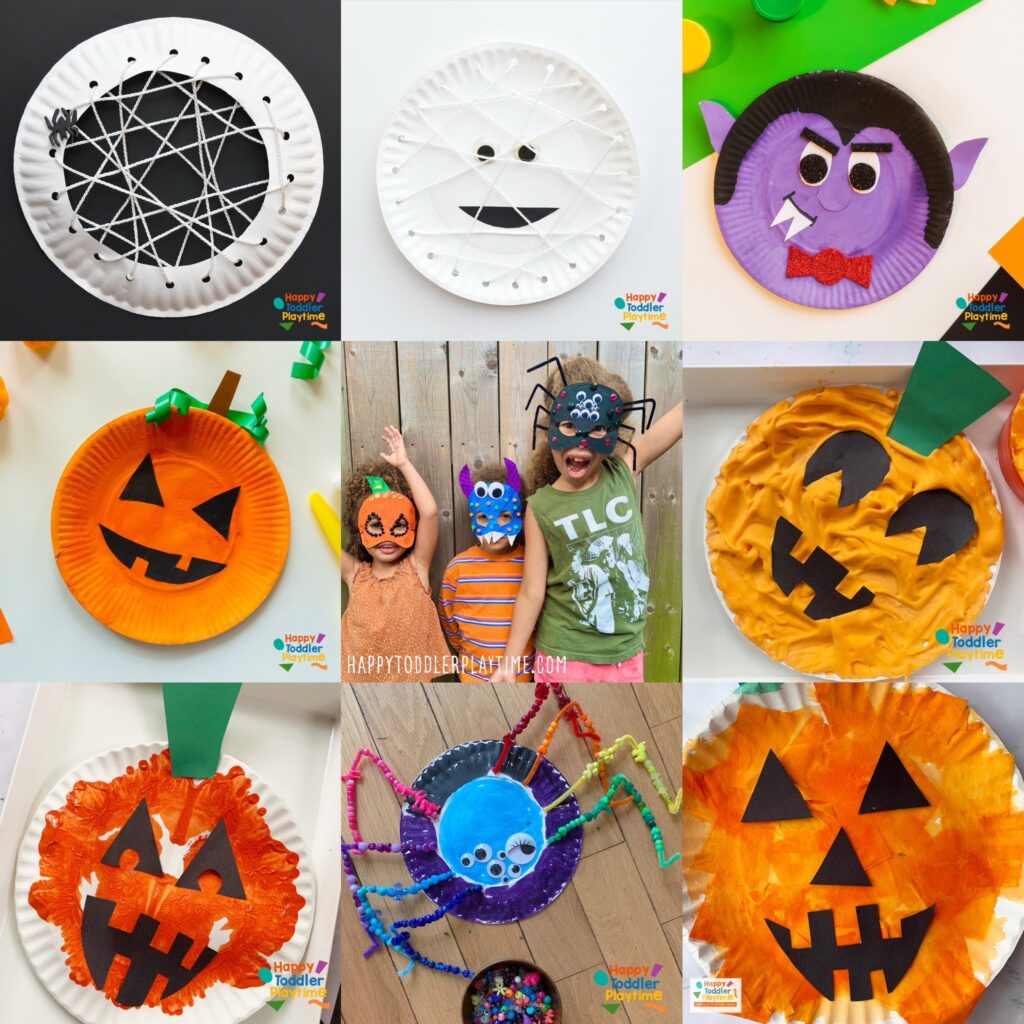
1. Paper Plate Ghostly Friends:
- Materials: Paper plates, white paint, black construction paper, googly eyes, scissors, glue, string or yarn.
- Instructions: Paint the paper plates white and let them dry completely. Cut out ghost shapes from black construction paper and glue them onto the painted plates. Attach googly eyes and a string or yarn to create a hanging ghost.
2. Toilet Paper Roll Mummy Mayhem:
- Materials: Toilet paper rolls, white paint, black marker, googly eyes, scissors, glue.
- Instructions: Paint the toilet paper rolls white. Once dry, use a black marker to draw mummy bandages on the rolls. Add googly eyes for a finishing touch.
3. DIY Pumpkin Patch:
- Materials: Orange construction paper, green construction paper, brown pipe cleaners, scissors, glue.
- Instructions: Cut out pumpkin shapes from orange construction paper. Cut out leaf shapes from green construction paper and glue them onto the pumpkins. Bend the pipe cleaners into stem shapes and attach them to the tops of the pumpkins.
4. Batty Banner:
- Materials: Black construction paper, scissors, glue, string or yarn, optional: glitter glue or paint.
- Instructions: Fold the black construction paper in half. Cut out bat shapes from the folded paper, ensuring the fold is at the top of the bat. Unfold the paper to reveal symmetrical bat shapes. Glue the bat shapes onto a string or yarn to create a festive banner.
5. Spider Web Wonders:
- Materials: White yarn, black construction paper, scissors, glue.
- Instructions: Cut out a large spider web shape from black construction paper. Glue the end of the white yarn to the center of the web. Wrap the yarn around the web, creating a spiderweb pattern.
6. Spooky Sock Puppets:
- Materials: Old socks, felt, googly eyes, scissors, glue, sewing needle and thread (optional).
- Instructions: Cut out shapes from felt to create eyes, mouths, and other features for your sock puppets. Glue or sew these onto the socks. Add googly eyes for extra detail.
7. Pumpkin Seed Art:
- Materials: Pumpkin seeds, glue, construction paper, optional: glitter, sequins, paint.
- Instructions: Clean and dry pumpkin seeds. Arrange the seeds on construction paper to create spooky designs or patterns. Glue the seeds in place. Add glitter, sequins, or paint for a decorative touch.
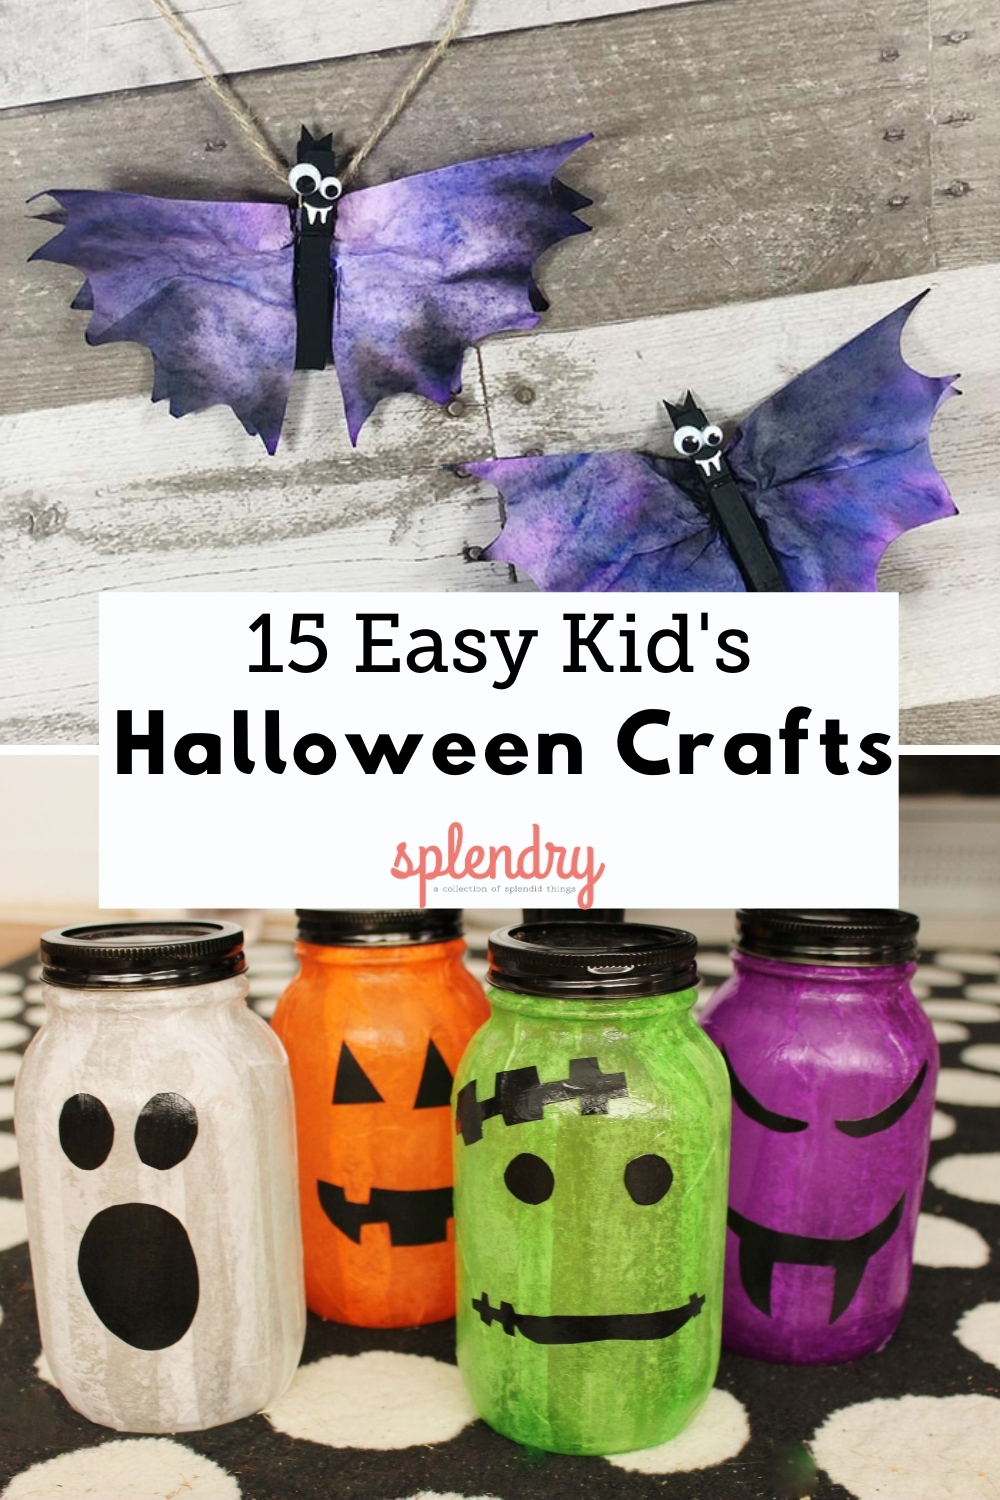
8. Ghostly Jar Lanterns:
- Materials: Glass jars, white paint, black marker, cotton balls, glue, LED tea lights or battery-operated candles.
- Instructions: Paint the glass jars white and let them dry. Use a black marker to draw spooky faces on the jars. Glue cotton balls around the jars to create a ghostly effect. Place LED tea lights or battery-operated candles inside for a magical glow.
9. Candy Corn Garland:
- Materials: Orange, yellow, and white construction paper, scissors, glue, string or yarn.
- Instructions: Cut out triangles from each color of construction paper. Glue the triangles together in the order of orange, yellow, and white to create candy corn shapes. String the candy corn shapes together to form a garland.
10. DIY Halloween Slime:
- Materials: Glue, borax, water, food coloring (optional), glitter (optional), mixing bowl, spoon.
- Instructions: In a mixing bowl, combine glue and water. In a separate bowl, dissolve borax in water. Slowly add the borax solution to the glue mixture, stirring constantly. Continue stirring until the slime forms. Add food coloring and glitter for a spooky touch.
11. Spooky Sensory Bottles:
- Materials: Clear plastic bottles, water, glitter, small plastic Halloween-themed objects (e.g., spiders, bats, ghosts), vegetable oil (optional).
- Instructions: Fill the bottles halfway with water. Add glitter, small plastic objects, and optional vegetable oil. Seal the bottles tightly. Shake the bottles and enjoy the mesmerizing sensory experience.
Transforming Your Home with Spooky Decor: Crafting a Halloween Haven
These crafts not only provide entertainment for children but also serve as charming decorations to transform your home into a Halloween haven.
1. Paper Plate Pumpkin Garland:
- Materials: Orange paper plates, green construction paper, black marker, scissors, glue, string or yarn.
- Instructions: Cut out pumpkin shapes from the orange paper plates. Use a black marker to draw faces on the pumpkins. Cut out leaf shapes from green construction paper and glue them onto the pumpkins. String the pumpkins together with string or yarn to create a festive garland.
2. Spooky Tree Branch Decorations:
- Materials: Tree branches, black paint, white yarn, googly eyes, scissors, glue.
- Instructions: Paint the tree branches black and let them dry. Wrap the white yarn around the branches to create a spiderweb effect. Attach googly eyes to the branches to create spooky spiders.
3. Haunted House Luminaries:
- Materials: Cardboard boxes, black paint, white construction paper, scissors, glue, LED tea lights or battery-operated candles.
- Instructions: Cut out window and door shapes from the cardboard boxes. Paint the boxes black and let them dry. Cut out spooky shapes from white construction paper and glue them to the windows and doors. Place LED tea lights or battery-operated candles inside for a haunting glow.
4. Ghostly Door Hanger:
- Materials: White felt, black felt, scissors, glue, string or ribbon.
- Instructions: Cut out a large ghost shape from white felt. Cut out eyes and a mouth from black felt and glue them onto the ghost. Attach a string or ribbon to the top of the ghost for hanging.
5. Witch’s Hat Centerpiece:
- Materials: Black construction paper, cardboard, scissors, glue, tape, optional: felt, glitter, paint.
- Instructions: Cut out a large circle from cardboard and a cone shape from black construction paper. Glue the cone shape to the circle to create the hat. Decorate the hat with felt, glitter, or paint. Place the hat on a table as a centerpiece.
6. Spider Web Tablecloth:
- Materials: White fabric, black yarn, scissors, glue.
- Instructions: Lay out the white fabric. Glue the end of the black yarn to the center of the fabric. Wrap the yarn around the fabric, creating a spiderweb pattern. Secure the yarn with glue as needed.
7. Candy Corn Mason Jar Vases:
- Materials: Mason jars, orange, yellow, and white paint, paintbrushes, optional: glitter, sequins.
- Instructions: Paint the Mason jars with alternating stripes of orange, yellow, and white paint. Let the paint dry completely. Add glitter or sequins for a decorative touch. Fill the jars with flowers or other Halloween-themed decorations.
8. Spooky Shadow Boxes:
- Materials: Shadow boxes, black paint, white construction paper, scissors, glue, small Halloween-themed objects (e.g., plastic spiders, bats, ghosts).
- Instructions: Paint the inside of the shadow boxes black. Cut out spooky shapes from white construction paper and glue them to the back of the shadow boxes. Arrange small Halloween-themed objects inside the shadow boxes for a spooky display.
9. Halloween-Themed Lanterns:
- Materials: Paper lanterns, black marker, scissors, glue, optional: glitter, sequins.
- Instructions: Use a black marker to draw spooky faces, bats, or other Halloween-themed designs on the paper lanterns. Cut out the designs with scissors. Add glitter or sequins for a decorative touch. Hang the lanterns from the ceiling or place them on tables for a festive glow.
10. DIY Halloween Wreath:
- Materials: Wire wreath form, black felt, orange felt, green felt, scissors, glue, string or ribbon.
- Instructions: Cut out bat shapes from black felt, pumpkin shapes from orange felt, and leaf shapes from green felt. Glue the shapes onto the wire wreath form. Attach a string or ribbon to the top of the wreath for hanging.
11. Pumpkin Spice Candle Holders:
- Materials: Glass votive holders, orange paint, cinnamon sticks, glue, twine, LED tea lights or battery-operated candles.
- Instructions: Paint the glass votive holders orange and let them dry. Glue cinnamon sticks around the votive holders. Wrap twine around the cinnamon sticks for a rustic touch. Place LED tea lights or battery-operated candles inside for a warm glow.
FAQs: Addressing Common Questions about Halloween Crafts for Kids
Q: What age are these crafts suitable for?
A: The crafts listed in this guide are designed for a wide range of ages, with varying levels of complexity. Some crafts, such as paper plate ghosts and toilet paper roll mummies, are suitable for toddlers and preschoolers. Others, such as spooky sock puppets and pumpkin seed art, are better suited for older children.
Q: How can I make these crafts more accessible for children with disabilities?
A: Adaptations can be made to accommodate different needs. For example, children with limited fine motor skills may benefit from using larger materials or pre-cut shapes. Children with visual impairments can rely on tactile exploration and verbal instructions.
Q: Are there any safety precautions to consider?
A: Always supervise children when they are using sharp tools, such as scissors. Avoid using materials that could be a choking hazard for young children. When working with glue, ensure that children are using it in a well-ventilated area and avoid contact with eyes.
Q: What are some alternative materials that can be used for these crafts?
A: Many of these crafts can be made with readily available materials found around the house. For example, instead of using paper plates, you could use cardboard or foam boards. Instead of using yarn, you could use string, ribbon, or pipe cleaners.
Q: How can I encourage children to be more creative with these crafts?
A: Encourage children to experiment with different materials, colors, and designs. Allow them to personalize their crafts with their own unique touches. Provide opportunities for them to brainstorm and come up with their own ideas.
Tips for Successful Halloween Crafts: A Guide for Parents and Educators
1. Plan Ahead: Choose projects that are age-appropriate and gather all the necessary materials before starting.
2. Create a Dedicated Workspace: Set up a designated crafting area with a table or flat surface, along with protective coverings such as newspaper or plastic sheeting.
3. Encourage Collaboration: Invite children to work together on projects, fostering teamwork and shared creativity.
4. Embrace Mistakes: Remind children that mistakes are part of the learning process and encourage them to try again or find creative solutions.
5. Focus on the Process: Emphasize the joy of creating and the satisfaction of completing a project, rather than striving for perfection.
6. Capture the Memories: Take photos or videos of children engaged in the crafting process, creating a lasting record of their creativity.
7. Display the Creations: Showcase the finished crafts proudly in your home or classroom, providing a sense of accomplishment for the children.
Conclusion: Crafting Memories and Spooktacular Decor
Halloween crafts are a wonderful way to engage children in creative activities while adding a festive touch to your home. By embracing these projects, families and educators can foster creativity, strengthen bonds, and create lasting memories. From simple paper plate ghosts to intricate spider web wonders, these crafts offer a range of options to suit all ages and skill levels. Remember, the key is to have fun, be creative, and embrace the spirit of Halloween.