Halloween Candle Making 2024: Make Your Own Spooky Candles at Home

The crisp autumn air, the rustle of falling leaves, and the anticipation of a spooky celebration – Halloween is a time for enchantment and creativity. This year, why not infuse your home with the spirit of the season by crafting your own unique and captivating Halloween candles? This engaging activity allows you to personalize your decorations, unleash your artistic side, and create an atmosphere that is both festive and unforgettable.
Benefits of Making Your Own Halloween Candles:
- Personalized Decor: Crafting your own candles gives you complete control over the scent, color, and design, enabling you to perfectly match your Halloween aesthetic.
- Unique Gifts: Handmade candles make thoughtful and personalized gifts for friends and family, adding a special touch to your Halloween festivities.
- Cost-Effective: Creating candles from scratch can be significantly cheaper than purchasing pre-made options, especially when considering the wide range of design possibilities.
- Stress Relief: The process of candle making offers a therapeutic and engaging activity, allowing you to unwind and enjoy the creative process.
- Enhances Atmosphere: The flickering light and captivating scents of homemade candles create a warm and inviting ambiance, transforming your home into a truly enchanting Halloween haven.
Essential Supplies for Halloween Candle Making:
Before embarking on your candle-making journey, ensure you have the following essential supplies:
- Candle Wax: A variety of waxes are available, each with distinct characteristics. Soy wax is a popular choice for its natural origin, clean burning, and ability to hold fragrance well. Other options include paraffin wax, beeswax, and palm wax.
- Wicks: The wick is crucial for ensuring proper burning and flame stability. Choose wicks specifically designed for the type of wax you are using and the size of your candle.
- Candle Jars or Containers: Glass jars, tins, or even repurposed containers like teacups and vintage bottles can be used to hold your candles. Ensure they are heat-resistant and have a wide enough opening for pouring wax.
- Double Boiler: A double boiler is essential for safely melting wax. You can also use a heat-safe pot and a heat-resistant bowl.
- Thermometer: A candy thermometer is ideal for accurately monitoring the wax temperature, ensuring proper melting and pouring.
- Fragrance Oils: Choose scents that evoke the spirit of Halloween, such as pumpkin spice, cinnamon, clove, or even spooky scents like graveyard dirt or witches’ brew.
- Dye Blocks or Liquid Dye: Add color to your candles using dye blocks or liquid dyes specifically designed for candle making.
- Measuring Cups and Spoons: Accurate measuring is essential for consistent results.
- Stirring Utensils: Use heat-resistant spoons or spatulas to mix and stir the wax and fragrance oils.
- Safety Gear: Always wear safety glasses and gloves when working with hot wax.
Step-by-Step Guide to Creating Halloween Candles:
- Prepare Your Workspace: Choose a well-ventilated area and cover your work surface with newspaper or a protective mat.
- Prepare Your Jars: Clean and dry your candle jars thoroughly. If desired, decorate them with Halloween-themed embellishments like ribbons, lace, or spooky stickers.
- Prepare Your Wicks: Cut your wicks to the desired length, leaving enough wick to extend about half an inch above the jar’s rim. Secure the wicks to the bottom of the jars using a wick sticker or a dab of hot glue.
- Melt the Wax: Carefully melt the wax in your double boiler or heat-safe pot, following the manufacturer’s instructions. Keep a close eye on the temperature using a thermometer.
- Add Fragrance and Dye: Once the wax reaches the appropriate temperature, add your desired fragrance oils and dye. Stir gently to ensure even distribution.
- Pour the Wax: Carefully pour the melted wax into the prepared jars, leaving a small space at the top for the wax to cool and solidify.
- Center the Wicks: As the wax begins to cool, ensure the wicks are centered and straight. You can use a wick centering tool or a pencil to adjust their position.
- Cool and Cure: Allow the candles to cool completely, which may take several hours. Once solidified, cure the candles in a cool, dark place for 24-48 hours to allow the fragrance to fully set.
Creative Ideas for Halloween Candle Designs:
- Pumpkin Spice Candles: Combine the warm, comforting scents of pumpkin spice with fall-inspired colors like orange, red, and brown. Decorate the jars with miniature pumpkins or leaves.
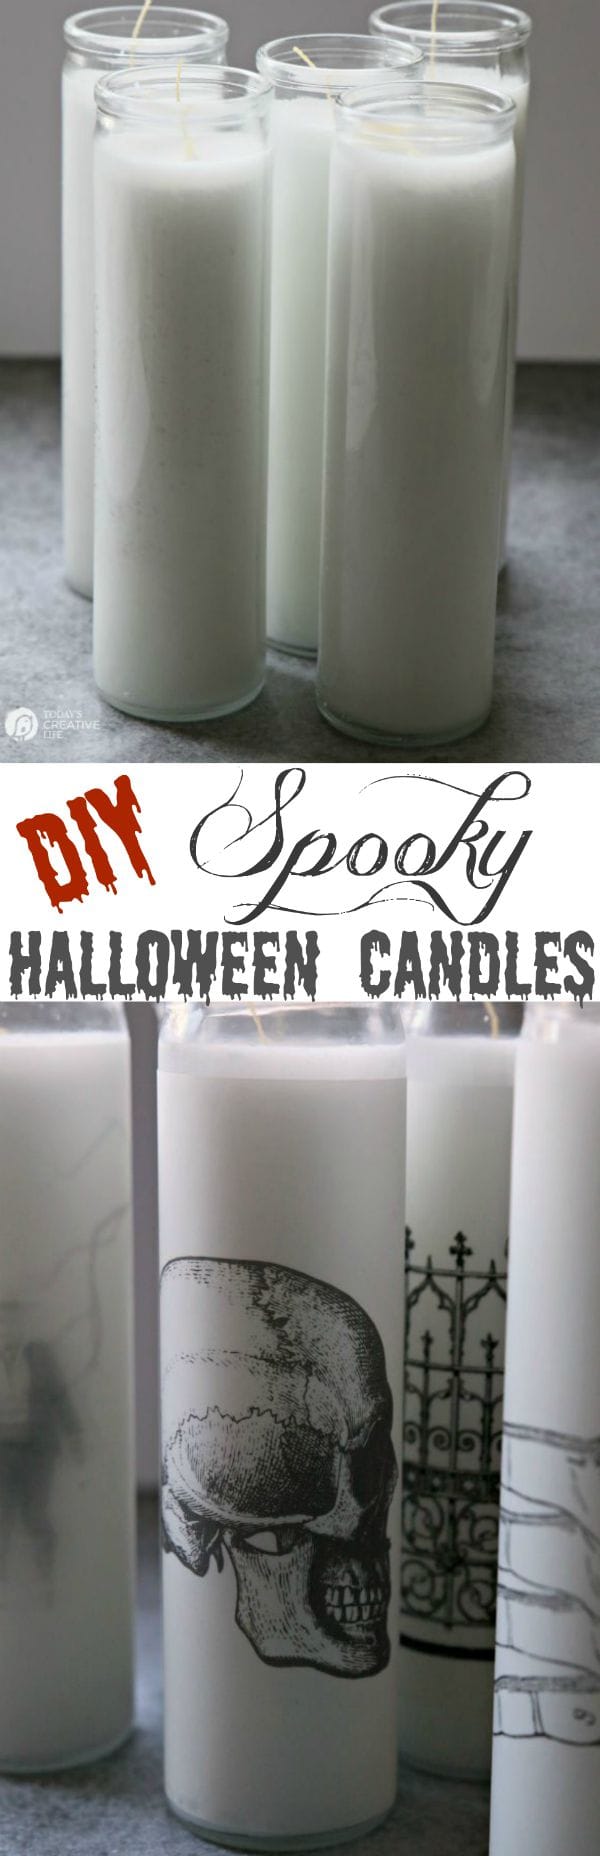
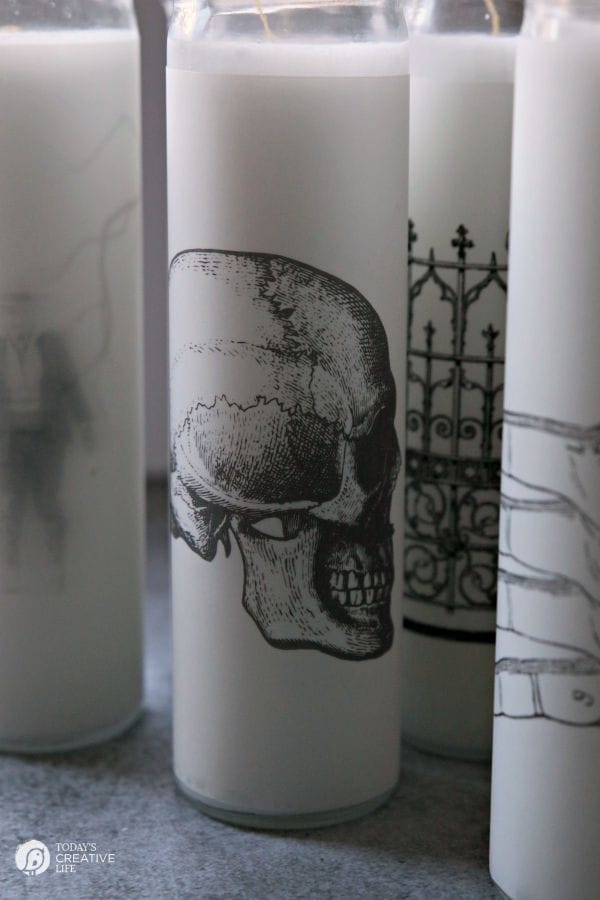
- Spooky Skull Candles: Mold candles in the shape of skulls using silicone molds, or decorate jars with skull-shaped stencils. Use black and white wax to create a dramatic effect.
- Witch’s Brew Candles: Experiment with deep purple and green wax, adding scents like lavender, rosemary, or even a touch of cinnamon for a mystical aroma.
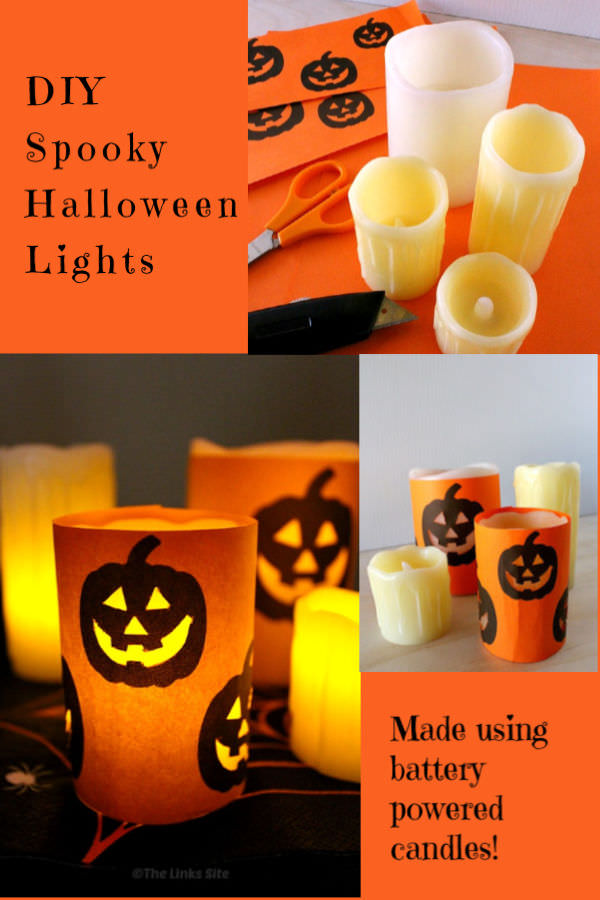
- Haunted House Candles: Create miniature haunted houses using clay or cardboard, and place a small tea light candle inside. Decorate the house with spooky details like bats, spiders, and ghosts.
- Ghostly Candles: Use white wax and translucent dyes to create candles that resemble ghostly figures. You can even add glitter or iridescent flakes for a magical touch.
Tips for Successful Halloween Candle Making:
- Use a Thermometer: Accurately measuring the wax temperature is crucial for ensuring proper melting and pouring.
- Avoid Overheating: Overheating the wax can cause it to become discolored or release harmful fumes.
- Choose the Right Wicks: Select wicks that are appropriate for the size of your candle and the type of wax you are using.
- Avoid Over-Scenting: Too much fragrance oil can overwhelm the candle and make it burn unevenly.
- Cure Your Candles: Allowing the candles to cure properly ensures the fragrance is fully absorbed and the wax solidifies evenly.
Related Searches for Halloween Candle Making:
- Halloween Candle Making Supplies: Find a comprehensive list of materials and equipment needed for candle making, including wax, wicks, jars, dyes, and fragrance oils.
- DIY Halloween Candles: Explore numerous tutorials and step-by-step guides for creating a variety of Halloween-themed candles.
- Halloween Candle Recipes: Discover unique candle recipes that combine specific scents, colors, and design elements for a truly festive experience.
- Halloween Candle Scents: Explore a wide range of Halloween-inspired fragrances, from classic pumpkin spice to more unique options like graveyard dirt or witch’s brew.
- Halloween Candle Holders: Find creative and spooky candle holders to showcase your handmade candles, adding a touch of Halloween magic to your décor.
- Halloween Candle Making Kits: Consider purchasing pre-packaged kits that include all the necessary supplies and instructions for a hassle-free candle-making experience.
- Halloween Candle Making Classes: Enroll in a candle-making workshop or class to learn professional techniques and gain hands-on experience from experienced instructors.
- Halloween Candle Decorating Ideas: Discover creative ways to decorate your candles with Halloween-themed embellishments, ribbons, and other decorative elements.
FAQs about Halloween Candle Making:
Q: What type of wax is best for making Halloween candles?
A: Soy wax is a popular choice for its natural origin, clean burning, and ability to hold fragrance well. However, other waxes like paraffin, beeswax, and palm wax are also suitable and offer unique characteristics.
Q: How do I choose the right wick for my candles?
A: The wick should be appropriate for the size of your candle and the type of wax you are using. Consult the wick manufacturer’s guidelines for specific recommendations.
Q: How do I add fragrance to my candles?
A: Add fragrance oils to the melted wax at the appropriate temperature. The amount of fragrance oil will depend on the type of wax and your desired scent intensity.
Q: How long should I cure my candles?
A: Cure your candles for 24-48 hours in a cool, dark place to allow the fragrance to fully set and the wax to solidify evenly.
Q: How do I make my candles last longer?
A: Use high-quality wax, the appropriate wick size, and avoid over-scenting your candles. Proper curing also contributes to longer burn times.
Q: Can I use essential oils for fragrance?
A: While essential oils can provide a pleasant aroma, they are not always suitable for candle making. Some essential oils can be flammable or react with the wax, so it is important to research and choose essential oils specifically formulated for candle making.
Q: What are some safety precautions for candle making?
A: Always wear safety glasses and gloves when working with hot wax. Work in a well-ventilated area, and keep children and pets away from the workspace.
Conclusion:
Halloween Candle Making is a rewarding and creative activity that allows you to personalize your home décor and create a truly enchanting atmosphere for the spooky season. By following the steps outlined above, you can craft unique and captivating candles that will add a touch of magic to your Halloween celebrations. Remember to prioritize safety, experiment with different scents and designs, and enjoy the process of bringing your creative vision to life.