Carve the Perfect Pumpkin for Halloween 2024

The crisp autumn air, the vibrant hues of changing leaves, and the anticipation of trick-or-treating – these are the hallmarks of Halloween. And at the heart of this festive season lies the iconic pumpkin, a symbol of harvest and a canvas for creative expression. Carving a pumpkin is a beloved tradition, one that transforms a simple gourd into a captivating centerpiece for Halloween decorations.
This guide aims to equip you with the knowledge and techniques to create a pumpkin that stands out, reflecting your unique style and capturing the spirit of Halloween.
Choosing the Perfect Pumpkin
The foundation of a stunning pumpkin carving lies in selecting the right gourd. Here’s what to consider:
- Size and Shape: The size and shape of the pumpkin dictate the complexity of your design. For intricate carvings, a smaller, rounder pumpkin is ideal. Larger pumpkins, with their spacious interiors, are perfect for elaborate scenes or jack-o’-lantern faces.
- Color and Texture: Look for a deep orange pumpkin with a smooth, blemish-free surface. This provides a clean canvas for your carving. Avoid pumpkins with soft spots or bruises, as these can make carving difficult.
- Stem: A sturdy stem is essential for stability and to ensure the pumpkin lasts longer.
Essential Tools for Pumpkin Carving
Before you begin carving, gather the necessary tools:
- Sharp Knife: A sturdy carving knife with a pointed tip is crucial for precise cuts. A serrated knife can also be helpful for removing larger sections of pumpkin flesh.
- Spoon: A sturdy spoon, preferably with a rounded tip, is essential for scooping out the pumpkin’s innards.
- Marker: A permanent marker allows you to trace your design onto the pumpkin’s surface.
- Cutting Mat: A cutting mat protects your work surface and prevents the pumpkin from slipping while carving.
- Gloves: Protect your hands from the pumpkin’s sticky sap and sharp tools.
- Candle or LED Light: To illuminate your finished pumpkin, use a votive candle or battery-operated LED tea light.
Designing Your Pumpkin
The possibilities for pumpkin carving designs are endless. Here are some popular themes:
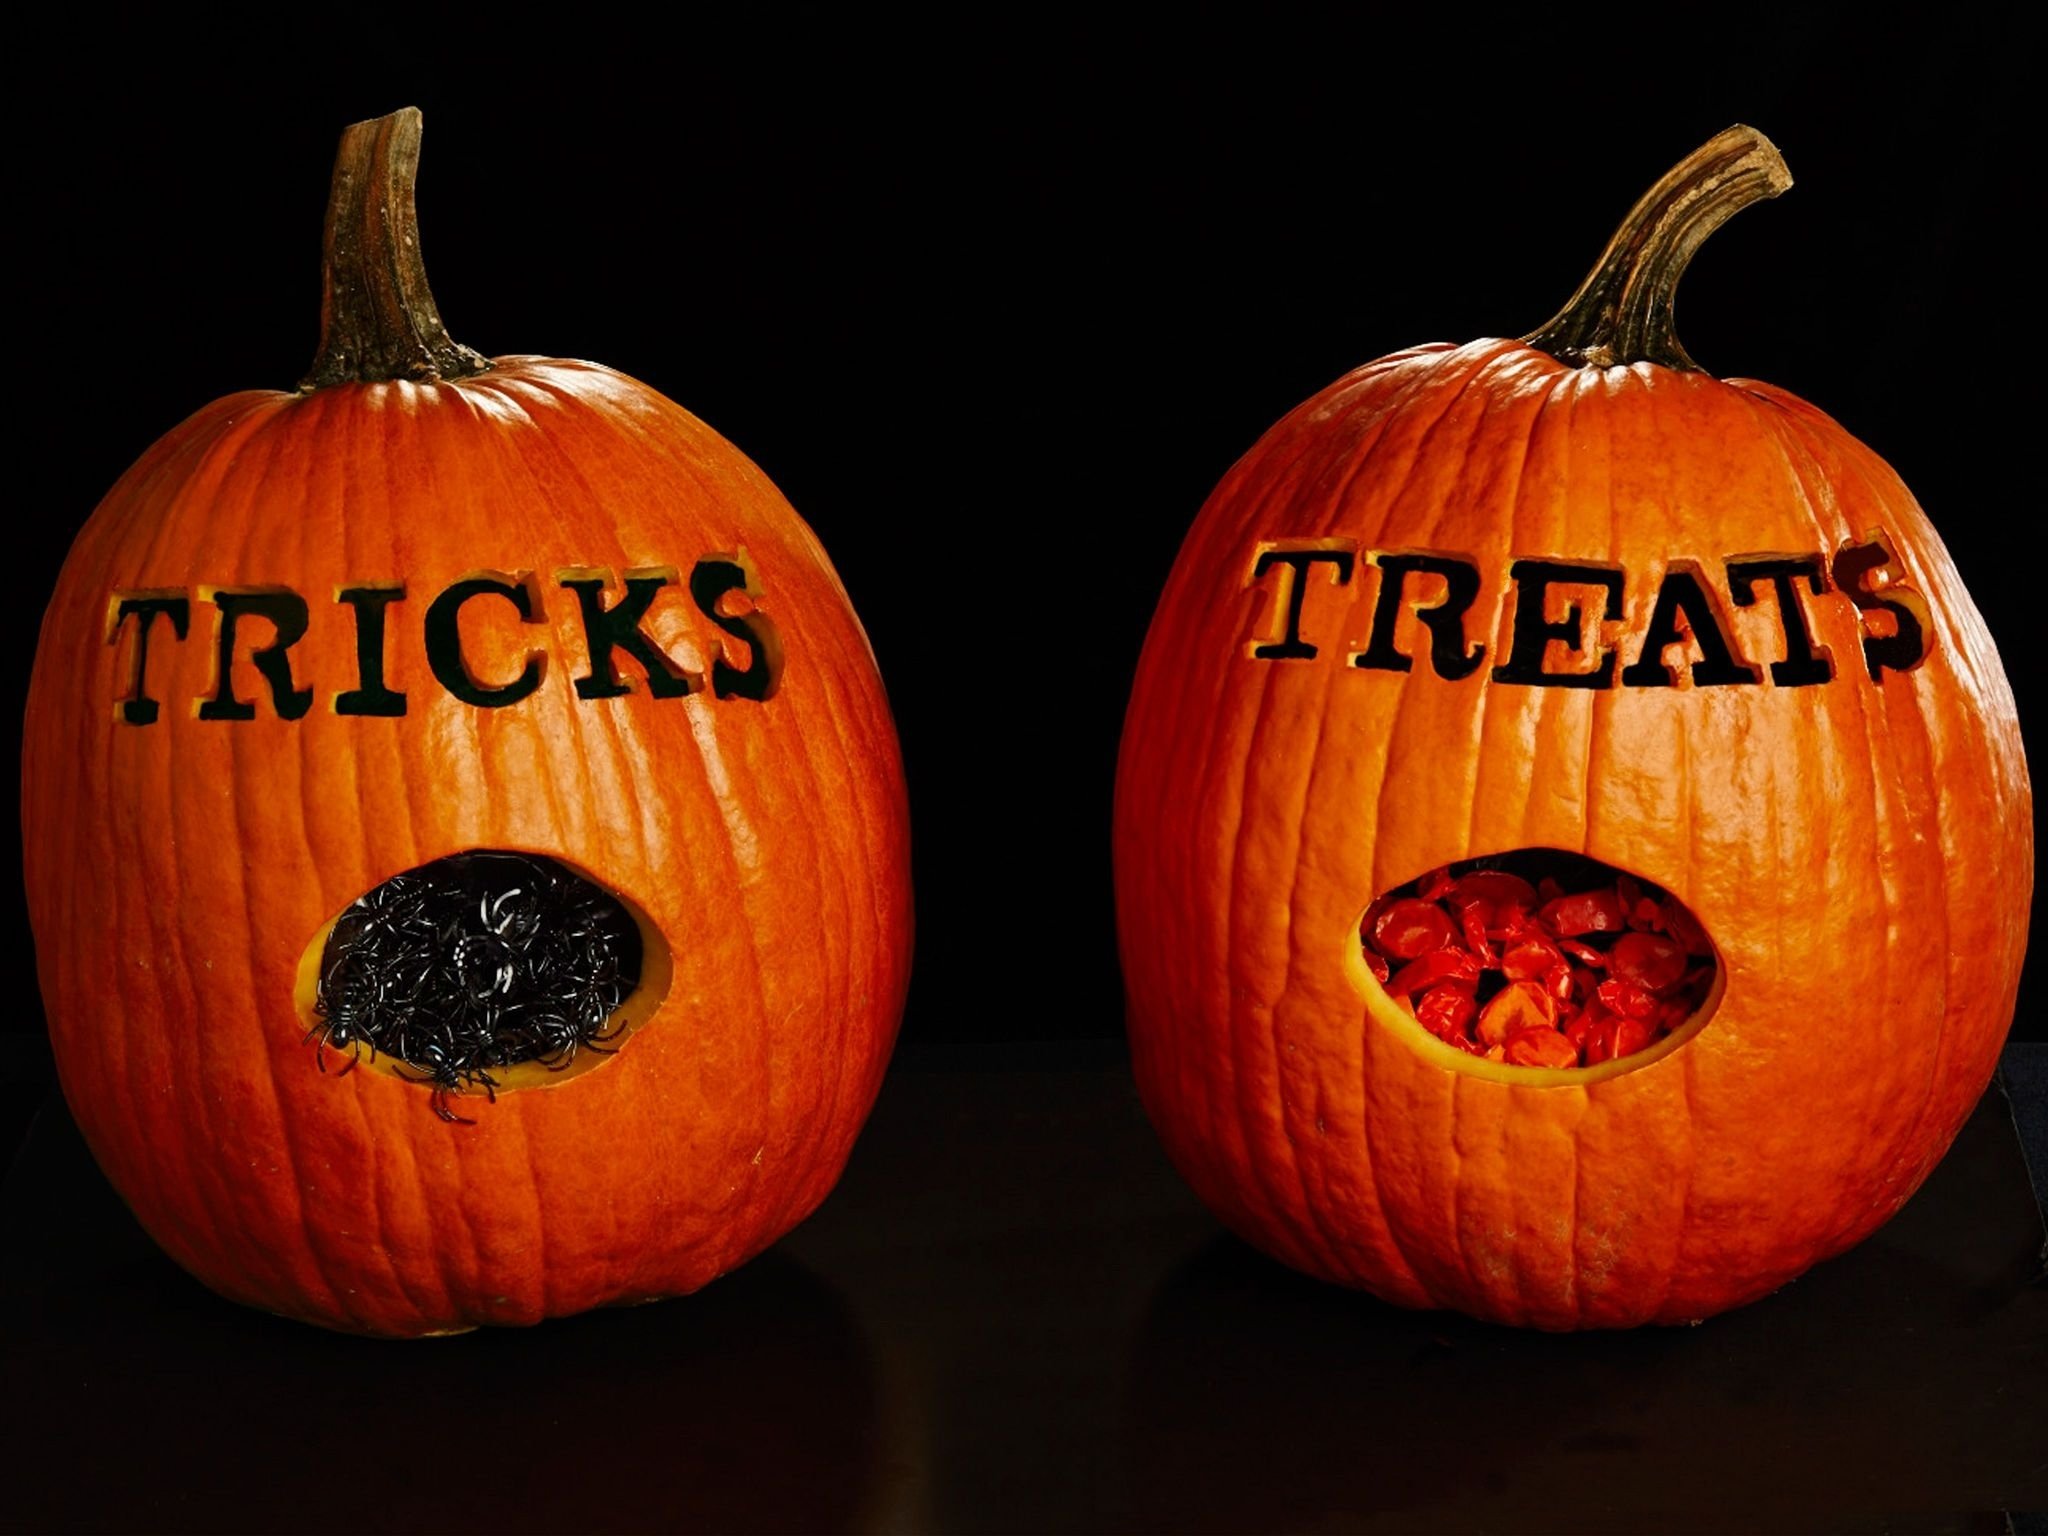
- Traditional Jack-o’-Lantern: The classic grinning face with triangular eyes and a wide, toothy mouth is a timeless Halloween staple.
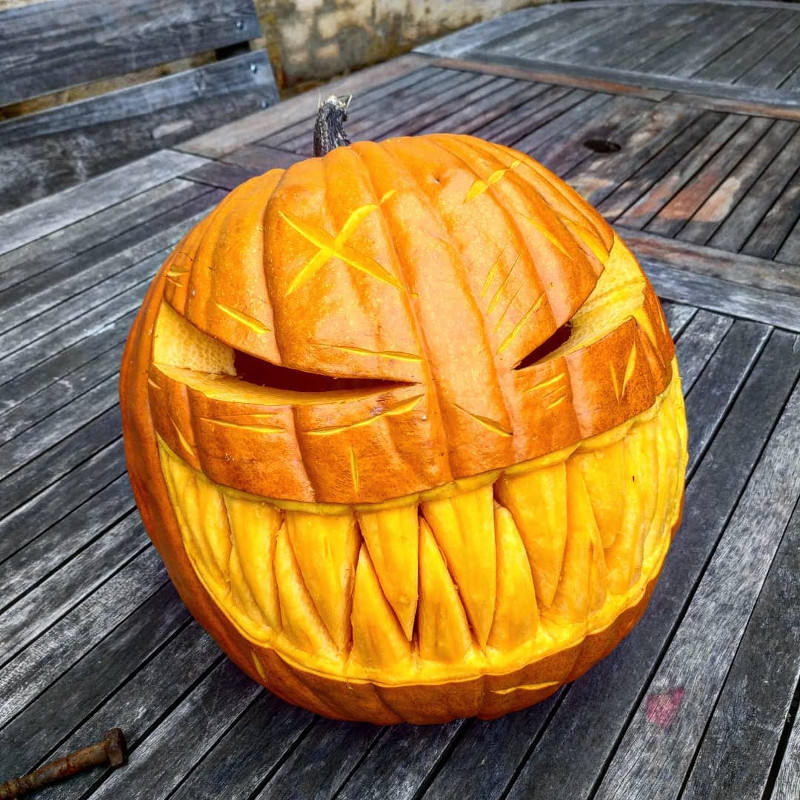
- Spooky Characters: From ghosts and witches to zombies and vampires, unleash your creativity and bring your favorite spooky characters to life on your pumpkin.
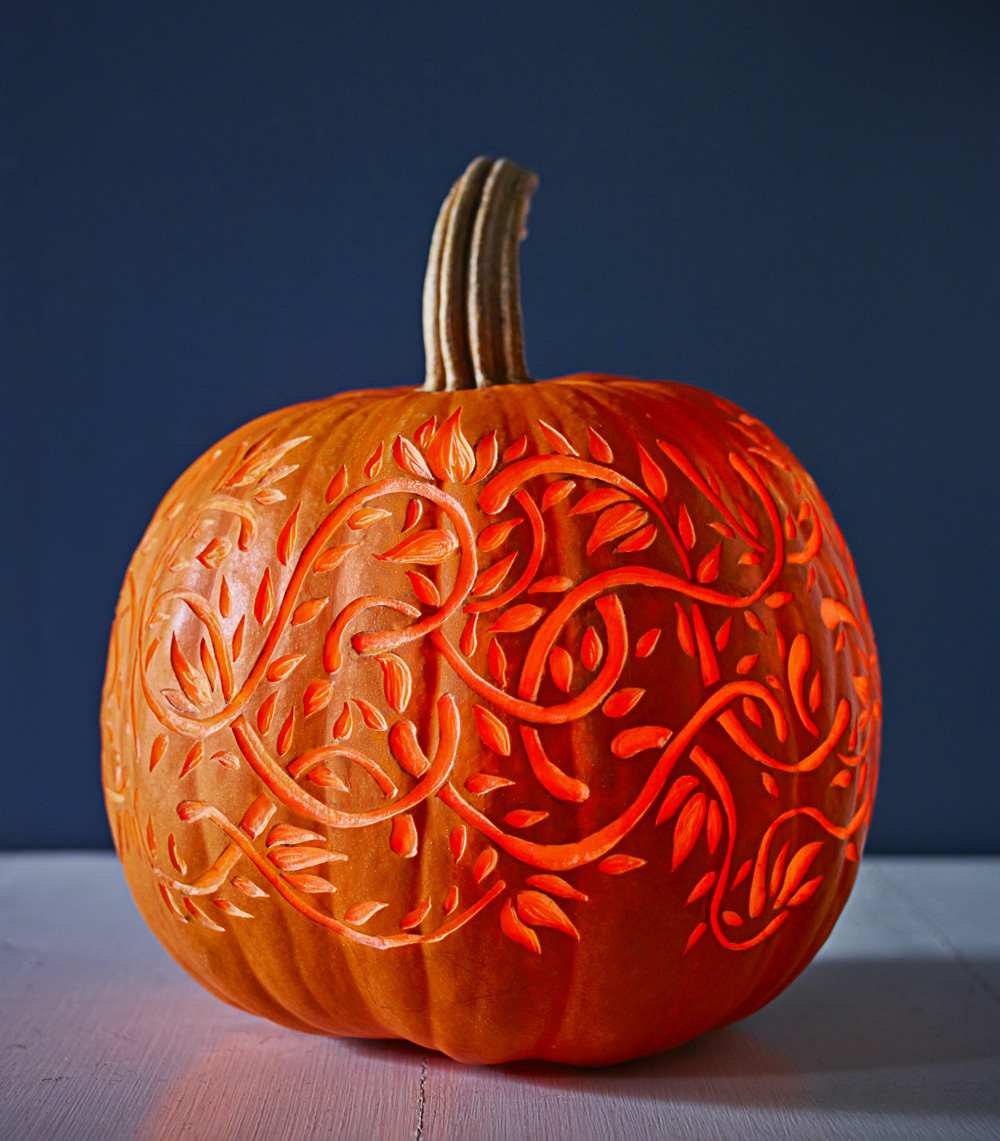
- Nature-Inspired: Carve intricate patterns of leaves, flowers, or animals to create a more elegant and natural look.
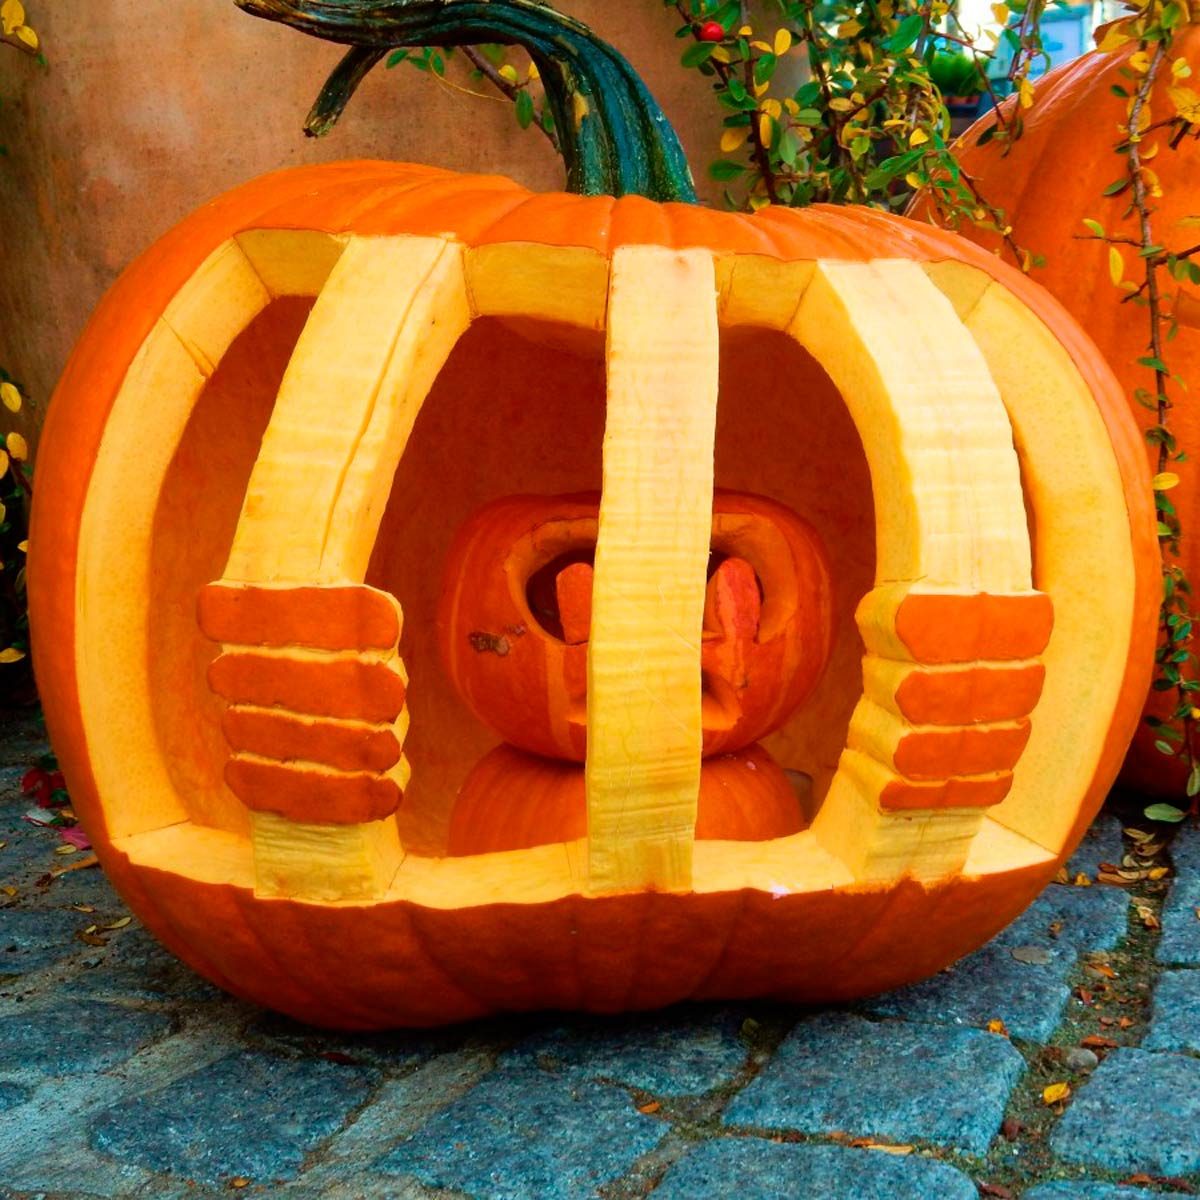
- Pop Culture: Embrace current trends by carving popular characters, logos, or symbols from movies, TV shows, or video games.
Tips for Designing:
- Sketch Your Design: Draw your design on paper before transferring it to the pumpkin. This allows you to refine the details and ensure it fits the pumpkin’s shape.
- Use Templates: Numerous free pumpkin carving templates are available online, offering inspiration and guidance for different designs.
- Keep It Simple: Start with a basic design and gradually add more intricate details as you gain confidence.
- Consider the Pumpkin’s Shape: The pumpkin’s shape influences the design’s success. A round pumpkin is ideal for symmetrical designs, while a more elongated pumpkin works well for characters or animals.
Carving Techniques
Once you have your design, it’s time to carve your pumpkin. Here’s a step-by-step guide:
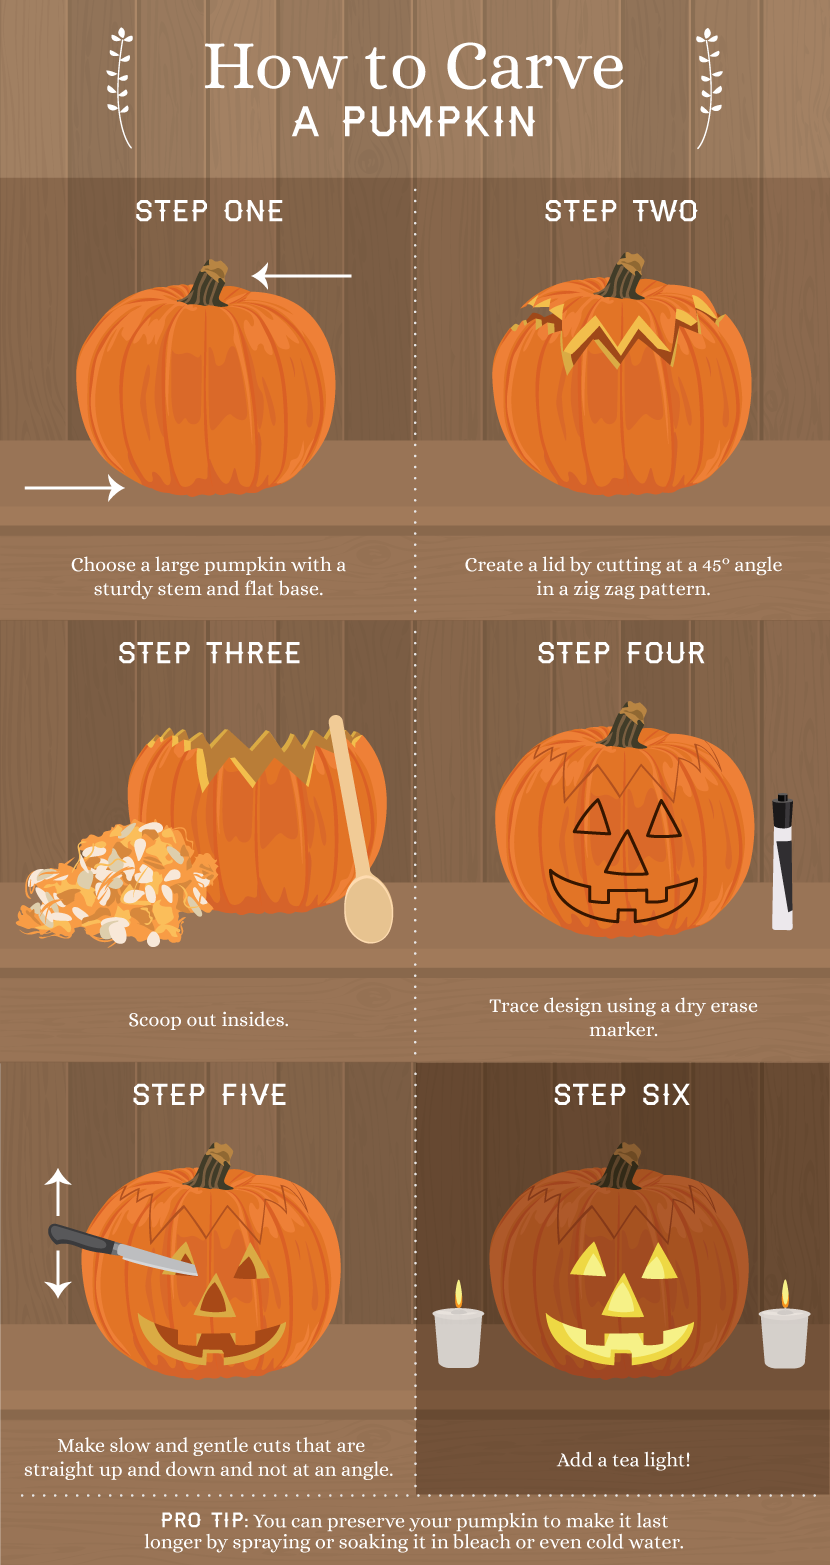
- Prepare the Pumpkin: Clean the pumpkin thoroughly and remove the stem.
- Trace the Design: Using a marker, carefully trace your design onto the pumpkin’s surface.
- Carve the Outline: Use a sharp knife to cut along the outline of your design, creating a shallow groove.
- Remove the Interior: Carefully scoop out the pumpkin’s flesh and seeds using a spoon.
- Cut Out the Design: Carefully cut out the areas of your design that will be illuminated. Use a sharp knife and a steady hand for precise cuts.
- Smooth the Edges: Once the carving is complete, smooth the edges of the cutouts with a spoon or a small knife. This prevents the pumpkin from becoming ragged and enhances the design’s sharpness.
Illuminating Your Pumpkin
The final touch is to illuminate your masterpiece. Here are some options:
- Candle: Place a votive candle inside the pumpkin to cast a warm, flickering glow. However, exercise caution as candles pose a fire hazard.
- LED Tea Light: A battery-operated LED tea light provides a safe and long-lasting alternative to candles.
- Glow Stick: Insert a glow stick into the pumpkin for a vibrant, colorful glow.
Preserving Your Pumpkin
To ensure your pumpkin lasts longer, follow these tips:
- Bleach Solution: Mix a solution of bleach and water (1 part bleach to 10 parts water) and apply it to the carved surfaces. This helps prevent mold and bacteria growth.
- Pumpkin Preservative: Apply a commercial pumpkin preservative to the cut surfaces. This extends the pumpkin’s lifespan and helps maintain its vibrant color.
- Store in a Cool, Dry Place: Keep your pumpkin in a cool, dry place out of direct sunlight. This helps prevent premature rotting.
Related Searches
- Halloween Pumpkin Carving Ideas: Discover a wealth of inspiration for pumpkin carving designs, from classic jack-o’-lanterns to intricate patterns and pop culture characters.
- Pumpkin Carving Templates: Find free printable templates for various designs, including characters, animals, and abstract patterns.
- Pumpkin Carving Tools: Explore different carving tools, including knives, spoons, and specialized carving kits.
- Pumpkin Carving Tips and Tricks: Learn techniques for carving different designs, maintaining pumpkin freshness, and creating unique effects.
- Pumpkin Carving for Kids: Find age-appropriate carving ideas and tips for children, encouraging their creativity and fostering a love for Halloween traditions.
- Best Pumpkin Carving Contest: Discover upcoming pumpkin carving contests in your area, providing an opportunity to showcase your skills and compete for prizes.
- Pumpkin Carving Safety: Learn about safety precautions to take when carving pumpkins, including using sharp tools carefully and avoiding open flames.
- Pumpkin Decorating Ideas: Explore creative ways to decorate your pumpkin beyond carving, including painting, adding embellishments, and incorporating lights.
FAQs
Q: What is the best time to carve a pumpkin?
A: It is best to carve a pumpkin within a week of Halloween to ensure it remains fresh and vibrant.
Q: How can I prevent my pumpkin from rotting quickly?
A: Apply a bleach solution or pumpkin preservative to the cut surfaces and store the pumpkin in a cool, dry place out of direct sunlight.
Q: Can I carve a pumpkin ahead of time?
A: Yes, you can carve a pumpkin a few days ahead of time. However, store it in a cool, dry place to prevent it from rotting.
Q: What are some safe ways to illuminate a pumpkin?
A: Use battery-operated LED tea lights or glow sticks as safe alternatives to candles.
Q: Can I use a drill for carving a pumpkin?
A: While a drill can be used for carving, it is not recommended for beginners. A sharp knife is the preferred tool for precise cuts.
Q: What should I do with the pumpkin’s seeds?
A: Pumpkin seeds are nutritious and delicious. Clean and roast them for a healthy snack.
Tips
- Practice on a Small Pumpkin: Before carving your main pumpkin, practice on a smaller one to get comfortable with the tools and techniques.
- Use a Sharp Knife: A sharp knife makes carving easier and more precise.
- Work Slowly and Carefully: Take your time and avoid rushing, especially when carving intricate details.
- Don’t Be Afraid to Experiment: Try different carving techniques and designs to find your own unique style.
- Have Fun: Pumpkin carving is a fun and creative activity. Enjoy the process and embrace your artistic side.
Conclusion
Carving a pumpkin for Halloween is a cherished tradition that allows you to unleash your creativity and celebrate the season’s spirit. By following these tips and techniques, you can create a stunning pumpkin that will be the envy of your neighborhood. Remember, the most important ingredient is to have fun and let your imagination run wild. Happy carving!